Perfect Pumpkin Pie Recipe: Your Holiday Show-Stopper
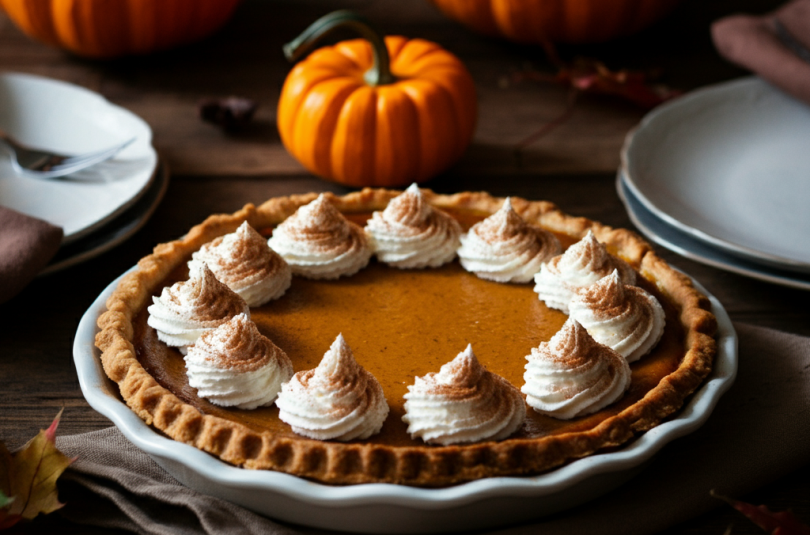
When autumn leaves start falling and the air turns crisp, there’s one dessert that captures the essence of the season like no other—pumpkin pie! This classic holiday dessert has been gracing Thanksgiving tables for generations, and for good reason. With its silky smooth texture, warm spice blend, and buttery flaky crust, it’s the perfect finale to any fall gathering.
But here’s the thing—not all pumpkin pies are created equal. You’ve probably tasted your fair share of dense, overly sweet, or crack-riddled versions that left you wondering what all the fuss was about. That’s exactly why I’m sharing this foolproof recipe that’ll have your guests asking for seconds (and thirds!).
This perfect pumpkin pie strikes the ideal balance between creamy custard filling and aromatic spices, all nestled in a golden, flaky crust. Whether you’re hosting Thanksgiving dinner, attending a holiday potluck, or simply craving that nostalgic fall flavor, this recipe will become your go-to dessert that never fails to impress.
Ingredients You’ll Need
Let’s start with what makes this pie so incredibly delicious. I’ve broken down the ingredients into two categories to keep things organized and ensure you don’t miss a thing.
For the Pie Crust
- 1¼ cups all-purpose flour
- ½ teaspoon salt
- ⅓ cup cold unsalted butter, cubed
- 3-4 tablespoons ice water
Pro tip: You can absolutely use a high-quality store-bought crust if you’re short on time—no judgment here!
For the Pumpkin Pie Filling
- 1 (15-ounce) can pure pumpkin puree
- 1 (12-ounce) can evaporated milk
- 3 large eggs
- ¾ cup granulated sugar
- 1 teaspoon ground cinnamon
- ½ teaspoon ground ginger
- ¼ teaspoon ground nutmeg
- ⅛ teaspoon ground cloves
- 1 teaspoon vanilla extract
- ½ teaspoon salt
The key here is using pure pumpkin puree, not pumpkin pie filling. Trust me on this one—the difference in flavor and texture is remarkable!
Essential Equipment
Before we dive into the fun part, let’s make sure you have everything you need:
- Large mixing bowls
- Whisk or electric mixer
- Measuring cups and spoons
- Rolling pin (if making homemade crust)
- 9-inch pie pan
- Aluminum foil or pie weights
Having the right tools makes all the difference between a stressful baking experience and an enjoyable one.
Step-by-Step Instructions
Step 1: Prepare Your Pie Crust
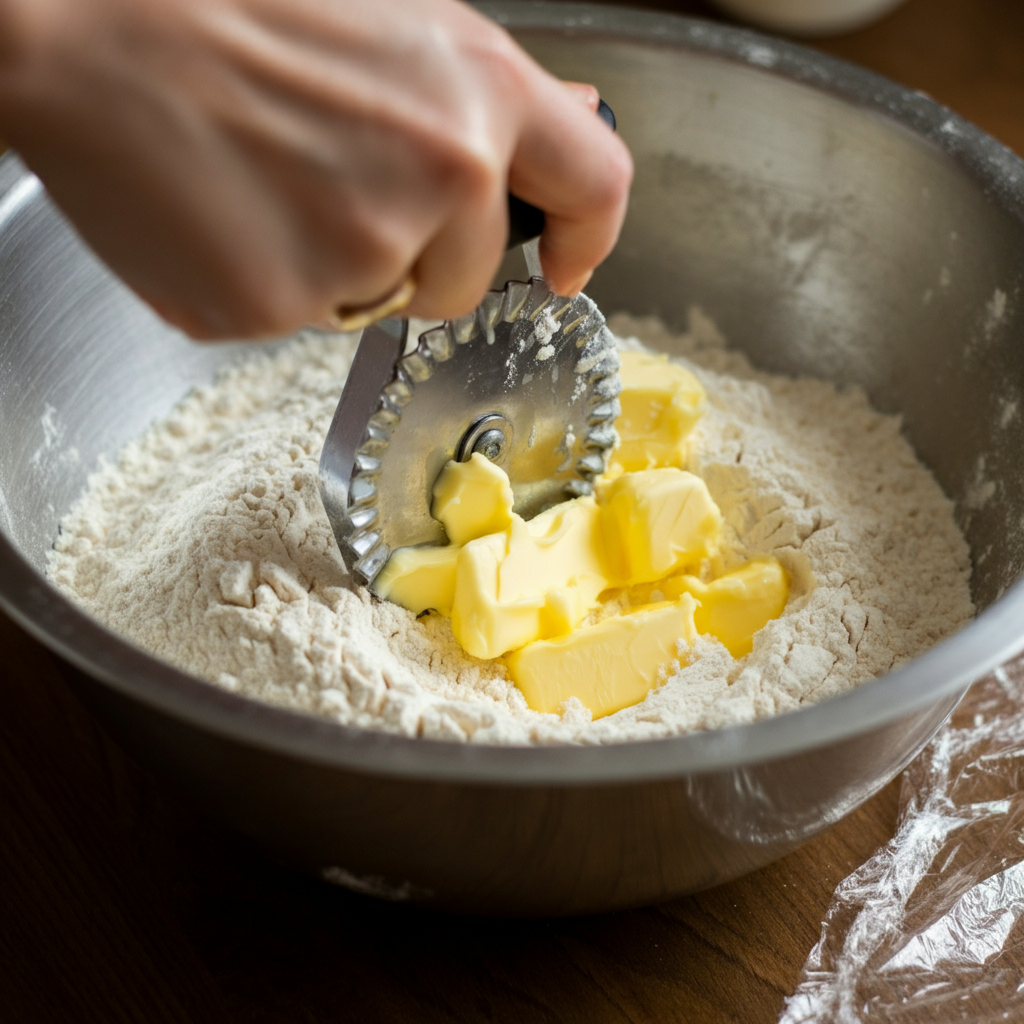
If you’re making the crust from scratch (and I encourage you to try it at least once!), combine flour and salt in a large bowl. Cut in the cold butter using a pastry cutter or your fingers until the mixture resembles coarse crumbs with some pea-sized pieces.
Gradually add ice water, one tablespoon at a time, mixing gently until the dough just comes together. Don’t overwork it—a few cracks are perfectly normal! Wrap in plastic and chill for at least 30 minutes.
Roll out your chilled dough on a floured surface to about 12 inches in diameter. Carefully transfer to your pie pan, trim the edges, and crimp as desired. For the crispiest bottom, prick the crust with a fork and pre-bake at 375°F for 10 minutes.
Step 2: Create the Perfect Filling
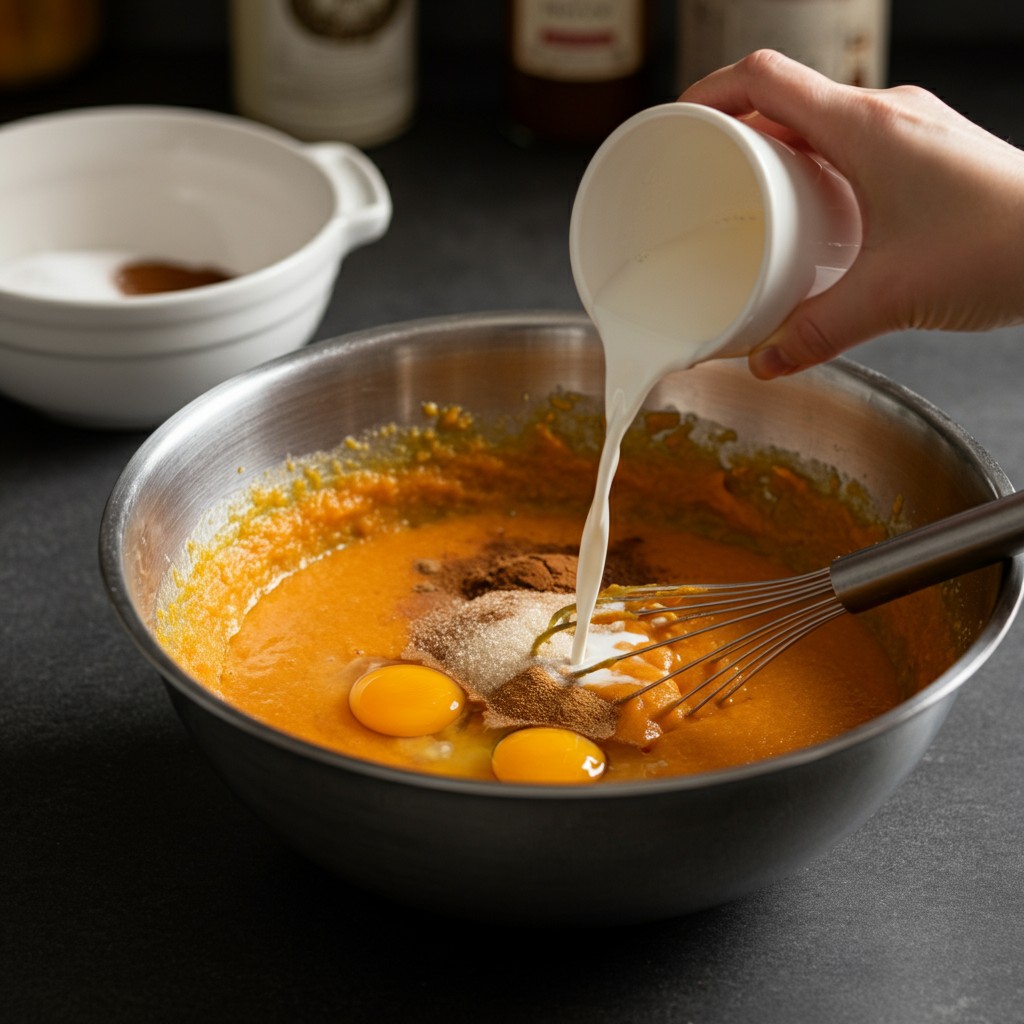
Here’s where the magic happens! In a large bowl, whisk together the pumpkin puree, eggs, and sugar until completely smooth. Add all your spices—cinnamon, ginger, nutmeg, and cloves—along with the vanilla and salt.
Slowly pour in the evaporated milk while whisking continuously. This gradual addition ensures a silky, lump-free filling that’ll set beautifully in the oven. The mixture should be smooth and pourable, with a gorgeous orange hue.
Step 3: Assemble Your Masterpiece
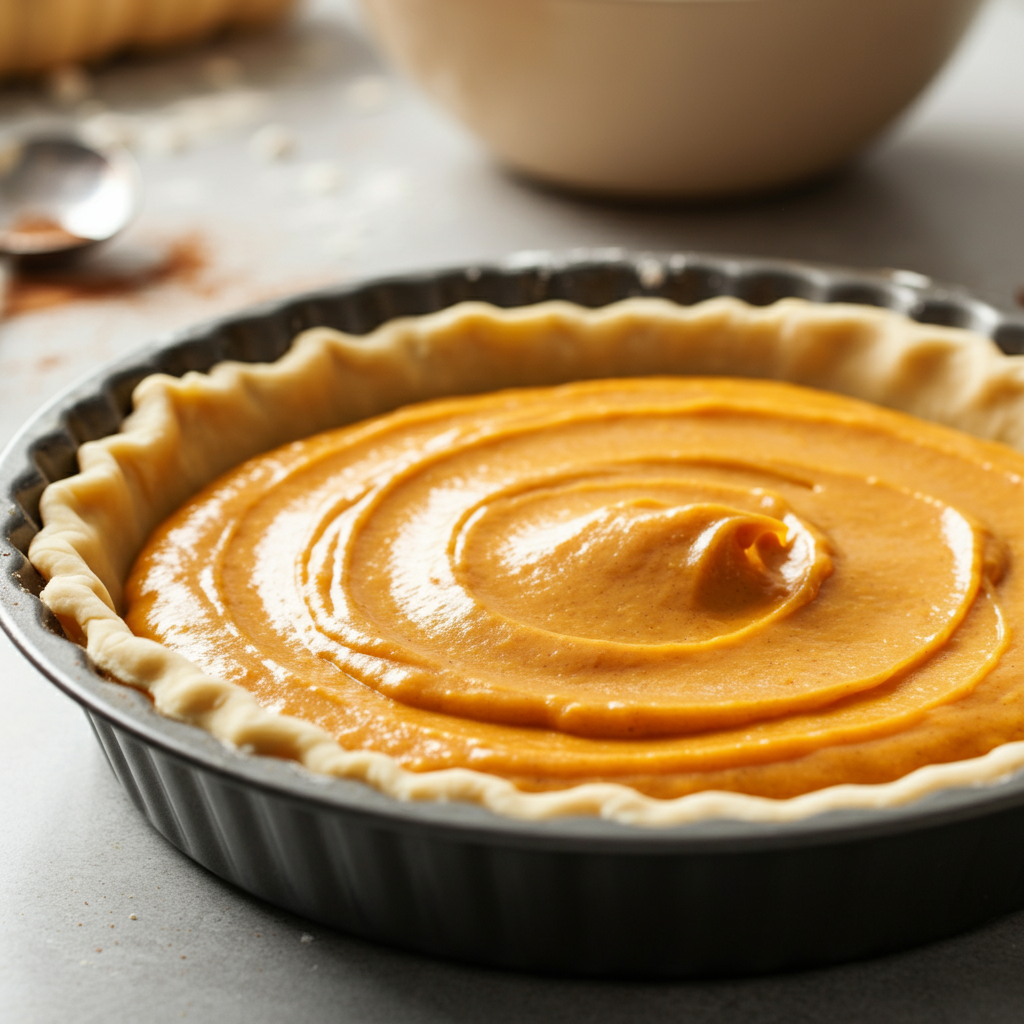
Pour the filling into your prepared crust, being careful not to overfill. Give the pie pan a gentle tap on the counter to release any air bubbles. The filling should come almost to the top of the crust but not overflow.
Step 4: The Baking Process
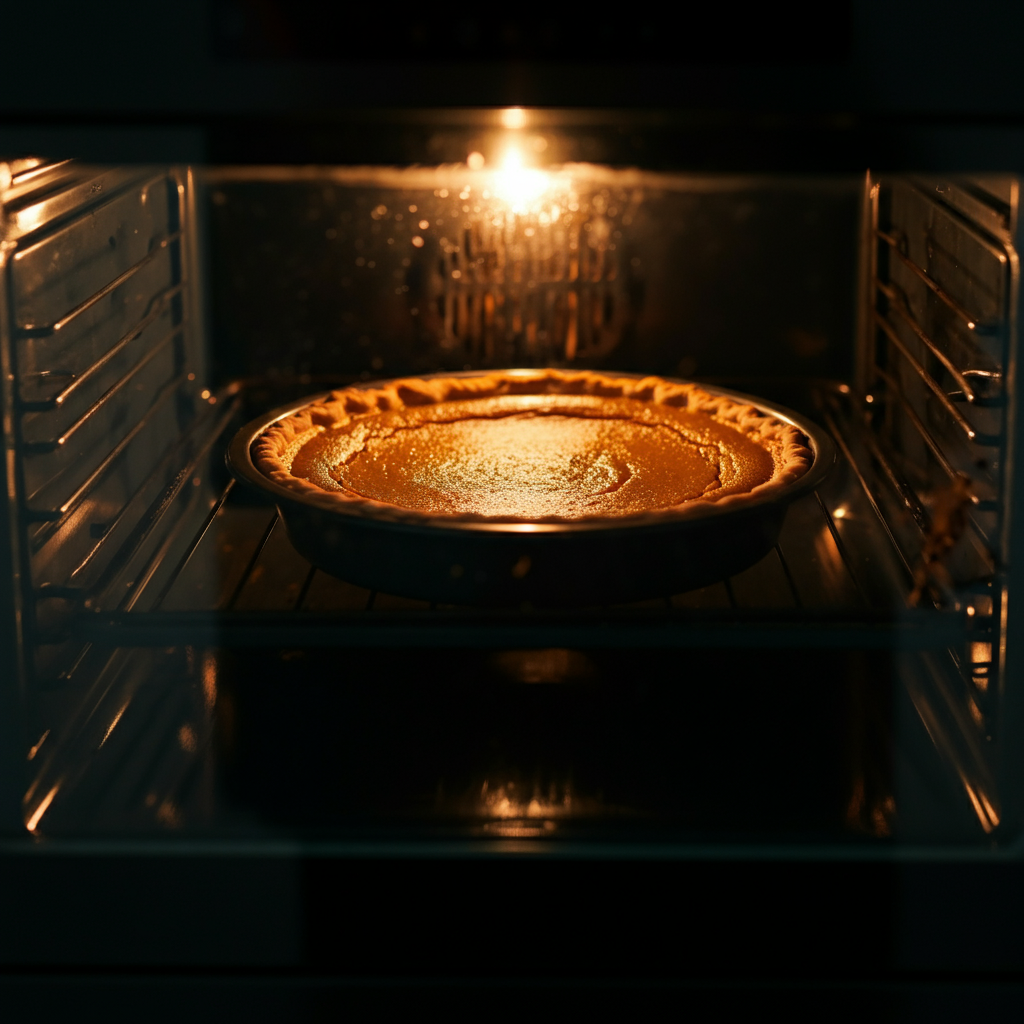
Preheat your oven to 425°F and place the pie on the lowest rack. Bake for 15 minutes, then reduce the temperature to 350°F and continue baking for 35-40 minutes.
Here’s the crucial test: the pie is done when a knife inserted near the center comes out clean, and the filling is set but still has a slight jiggle in the very center. The edges should be firm and lightly golden.
Step 5: Cool and Serve
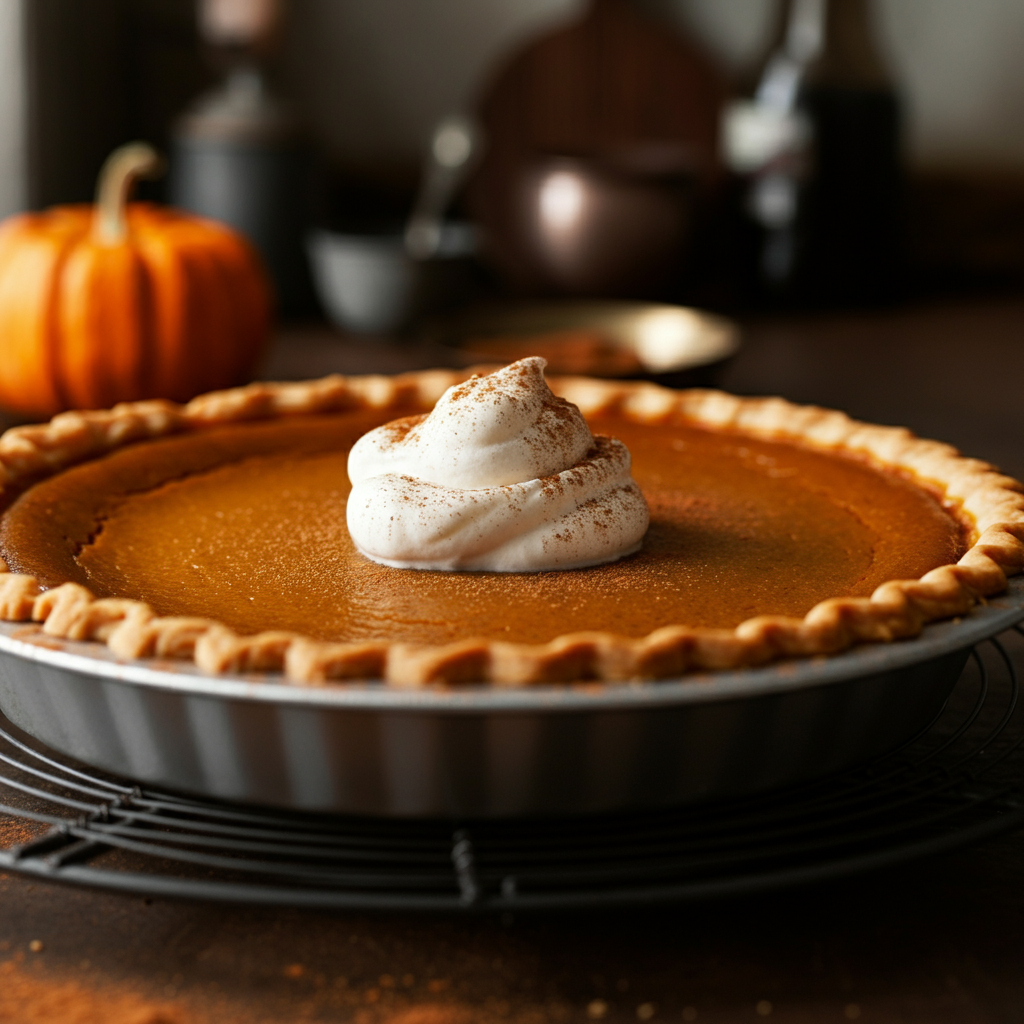
This might be the hardest part—waiting! Let your pie cool completely at room temperature for at least 2 hours before slicing. This cooling time allows the custard to set properly, ensuring clean, beautiful slices.
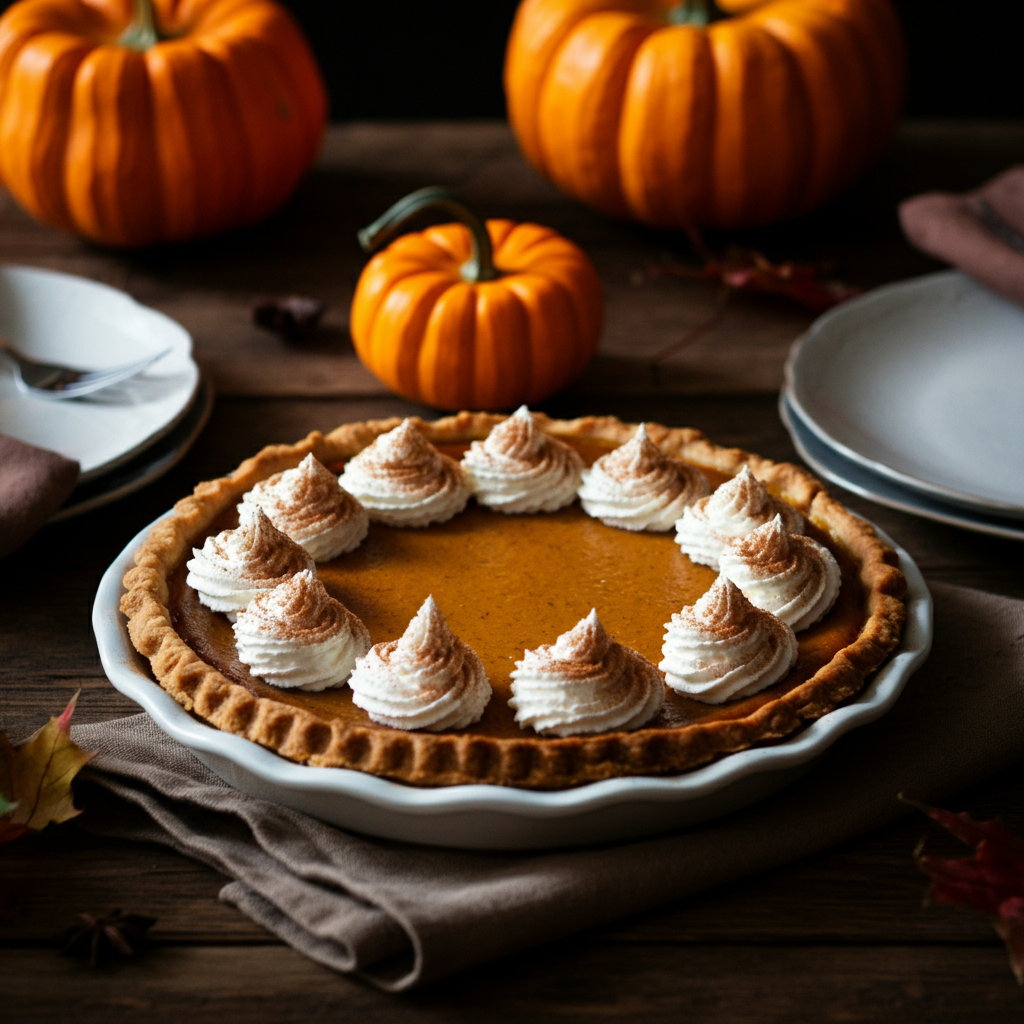
Serve with a dollop of freshly whipped cream, a scoop of vanilla ice cream, or enjoy it plain to savor every spiced bite.
Pro Tips for Pumpkin Pie Perfection
After years of making (and occasionally botching) pumpkin pies, I’ve learned some game-changing tricks that I’m excited to share with you.
Prevent those dreaded cracks by avoiding overbaking. The filling continues cooking even after you remove it from the oven, so trust the slight jiggle test. If cracks do appear, don’t panic—a generous swirl of whipped cream covers a multitude of baking sins!
For extra richness, substitute heavy cream for half of the evaporated milk. This creates an incredibly luxurious texture that’ll have people asking for your secret.
Temperature matters more than you think. Room temperature eggs blend more easily, creating a smoother filling. Take them out of the fridge about 30 minutes before you start baking.
Delicious Variations to Try
Once you’ve mastered the classic version, why not shake things up a bit?
Bourbon Pumpkin Pie: Add 2 tablespoons of bourbon to the filling for a sophisticated twist that pairs beautifully with the warm spices.
Maple Pumpkin Pie: Replace half the granulated sugar with pure maple syrup for a deeper, more complex sweetness.
Dairy-Free Version: Swap the evaporated milk for full-fat coconut milk, and you’ll have a pie that’s just as creamy and delicious.
Streusel-Topped Pumpkin Pie: During the last 15 minutes of baking, sprinkle a mixture of butter, brown sugar, flour, and chopped pecans over the top for added texture.
Storage and Make-Ahead Magic
One of the best things about pumpkin pie is how well it keeps and travels. Store your finished pie covered in the refrigerator for up to 4 days—though in my experience, it rarely lasts that long!
For make-ahead convenience, you can prepare the entire pie up to 2 days in advance. The flavors actually develop and meld beautifully over time. You can even freeze the baked pie for up to 2 months. Just thaw it overnight in the refrigerator before serving.
If you’re planning a large gathering, consider making the filling a day ahead and storing it in the refrigerator. Just give it a good whisk before pouring into your crust and baking.
Your New Holiday Tradition Awaits
There’s something truly magical about pulling a perfect pumpkin pie from your oven—the golden crust, the aromatic spices filling your kitchen, and the anticipation of that first creamy bite. This recipe has become my family’s most requested dessert, and I’m confident it’ll earn a special place in your holiday traditions too.
The best part? Once you master this basic technique, you can experiment with different spice combinations, crusts, and toppings to make it uniquely yours. So gather your ingredients, preheat that oven, and get ready to create some deliciously sweet memories!