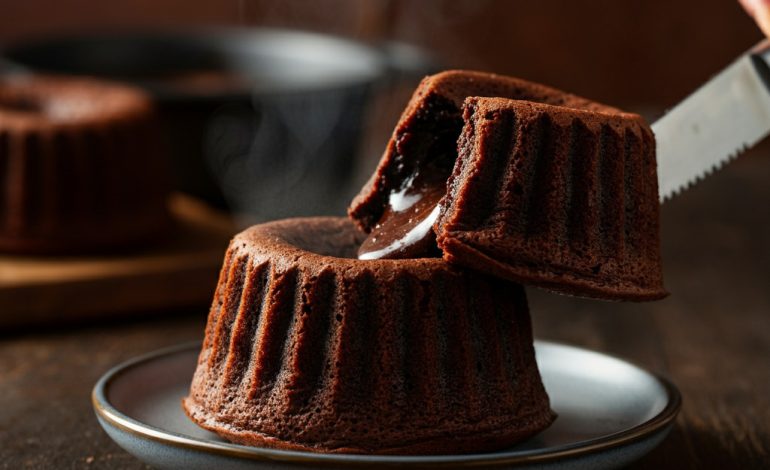
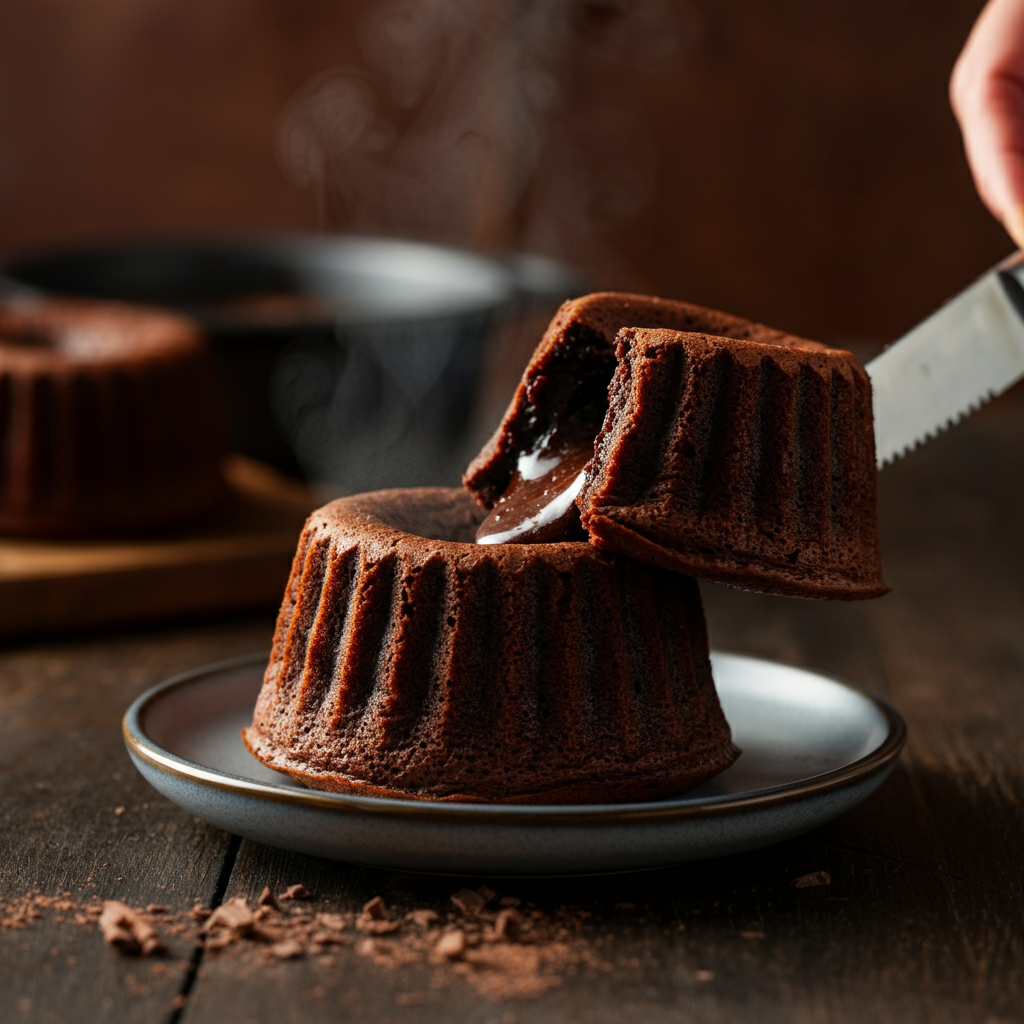
There’s something absolutely magical about breaking into a chocolate dessert and watching that gorgeous, molten center flow out like liquid gold. Chocolate lava pots—those individual treasures of decadence—never fail to create that jaw-dropping moment at the dinner table!
I still remember the first time I attempted these beauties for a dinner party. My hands were shaking as I inverted each ramekin, praying the centers would be perfectly gooey. When that first spoonful revealed the most luxurious, flowing chocolate center, my guests practically swooned. The combination of the firm, cake-like exterior and that incredible molten heart creates a textural experience that’s simply divine.
These individual chocolate desserts aren’t just impressive—they’re surprisingly achievable for home bakers. With the right technique and timing, you’ll master the art of creating that perfect molten center that makes chocolate lava pots so irresistible. Whether you’re planning a romantic evening or want to wow your dinner guests, this recipe will become your secret weapon for unforgettable dessert moments.
Essential Ingredients for Perfect Chocolate Lava Pots
The beauty of chocolate lava pots lies in their simplicity. You’ll need just a handful of high-quality ingredients to create these show-stopping desserts:
Dark chocolate forms the soul of this dessert. Choose high-quality chocolate with at least 70% cocoa content—it makes all the difference in achieving that rich, intense flavor that defines a perfect lava pot.
Unsalted butter works alongside the chocolate to create that silky, molten texture. The butter adds richness and helps achieve the flowing consistency you’re after.
Eggs and egg yolks provide structure while keeping the center gorgeously gooey. The extra egg yolks are the secret to that luxurious, custard-like flow.
Granulated sugar balances the bitter notes of dark chocolate without overwhelming the sophisticated flavor profile.
All-purpose flour gives just enough structure to hold the dessert together while maintaining that molten center.
Don’t forget the cocoa powder for dusting your ramekins—it prevents sticking and adds an extra layer of chocolate flavor. A pinch of salt enhances all the other flavors, while optional additions like vanilla extract or espresso powder can elevate your lava pots to gourmet status.
Step-by-Step Guide to Chocolate Lava Pot Perfection
Prepare Your Ramekins
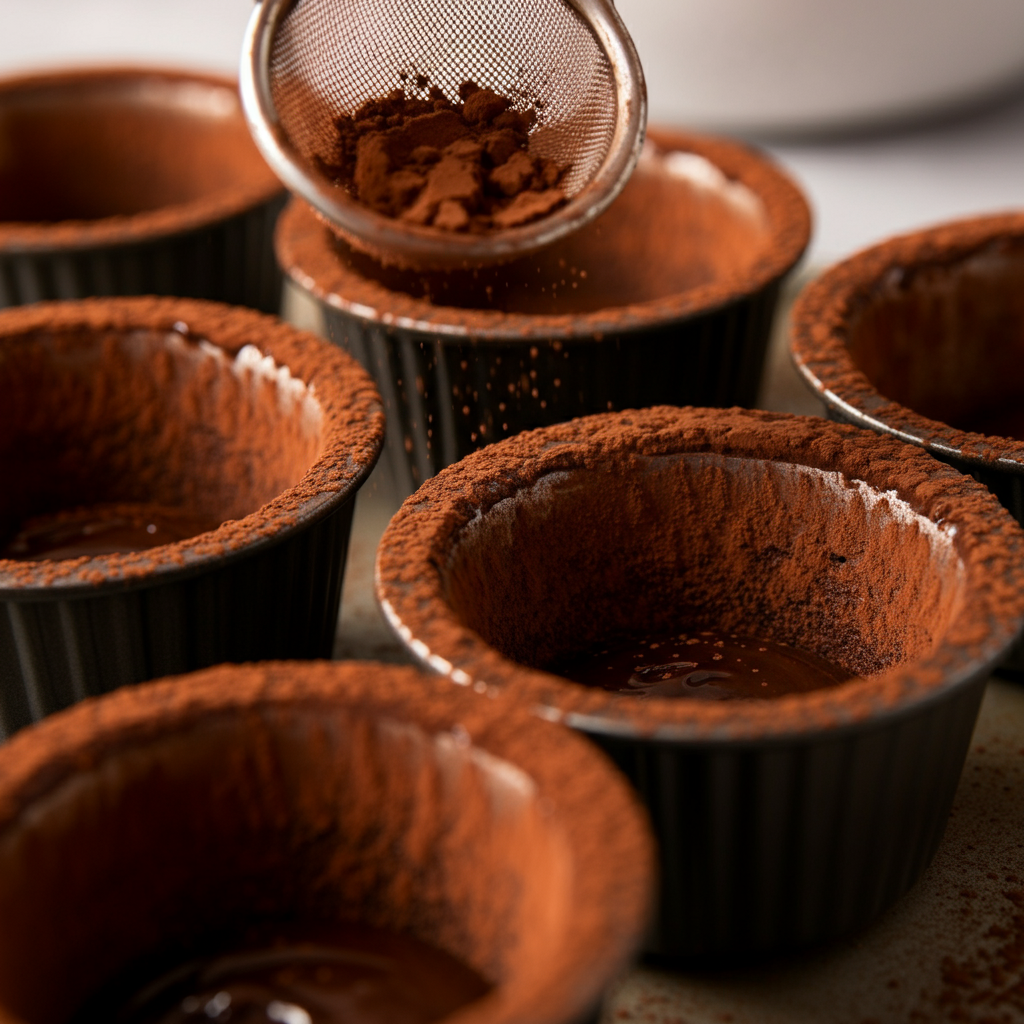
Start by generously greasing your ramekins with butter, making sure to coat every surface. Then dust them thoroughly with cocoa powder, tapping out any excess. This double coating ensures your lava pots will release beautifully when it’s time to serve!
Create the Chocolate Base
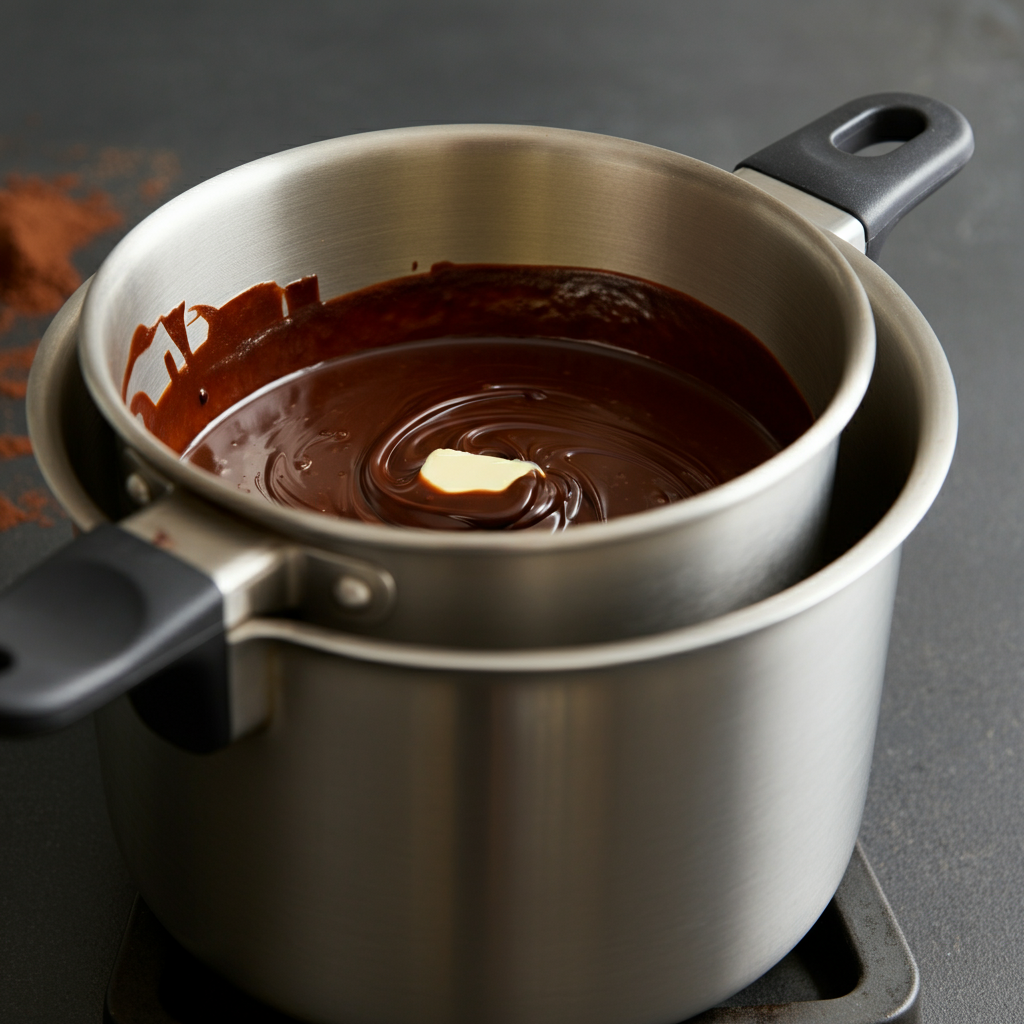
Melt your dark chocolate and butter together using a double boiler or microwave in 30-second intervals, stirring between each burst. The mixture should be completely smooth and glossy—this is your flavor foundation, so take your time to get it right.
Build the Structure
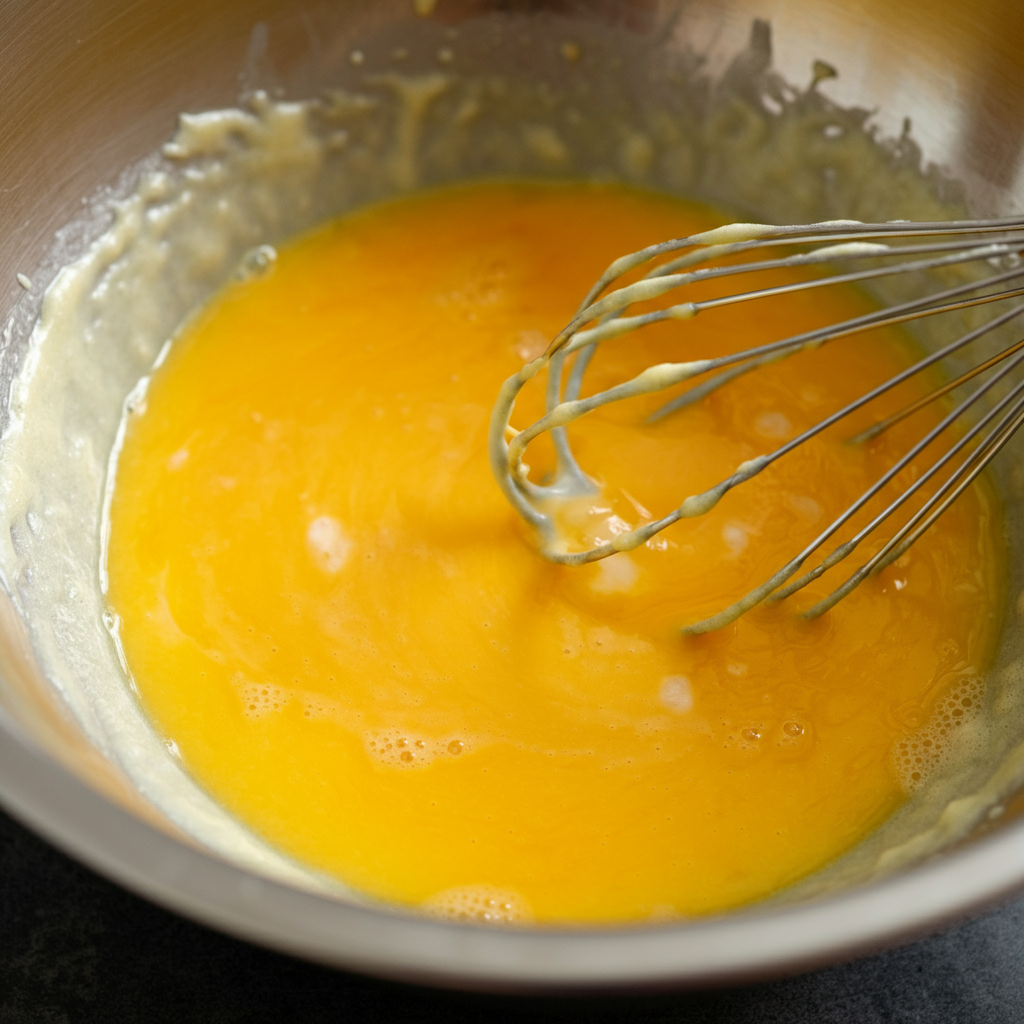
In a separate bowl, whisk your eggs, egg yolks, and sugar until the mixture becomes pale and slightly thickened. This usually takes about 2-3 minutes of vigorous whisking, and you’ll notice the mixture becoming lighter in color and gaining volume.
Bring It Together
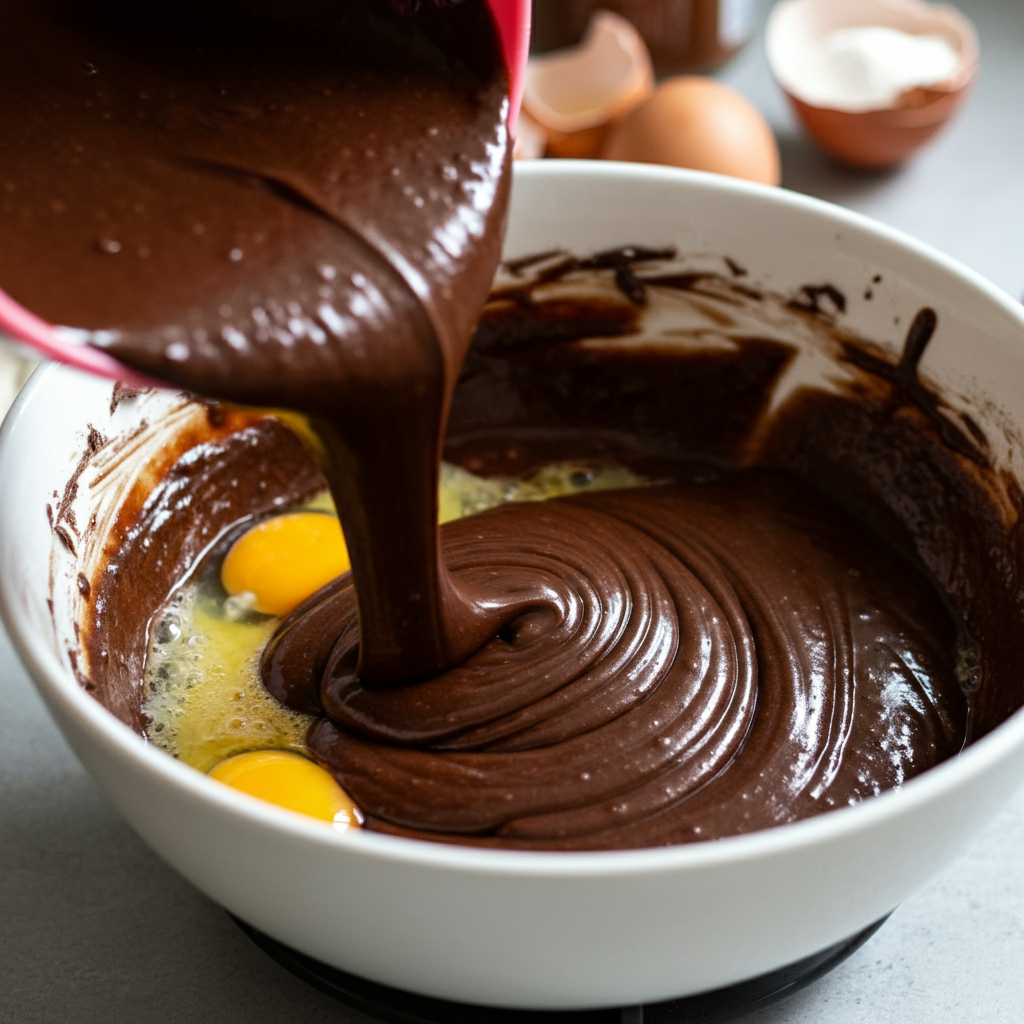
Gently fold the warm chocolate mixture into your egg mixture, being careful not to scramble the eggs. Once combined, sift in the flour and salt, folding just until incorporated. Overmixing at this stage can result in tough lava pots, so a gentle hand is key.
Fill and Bake
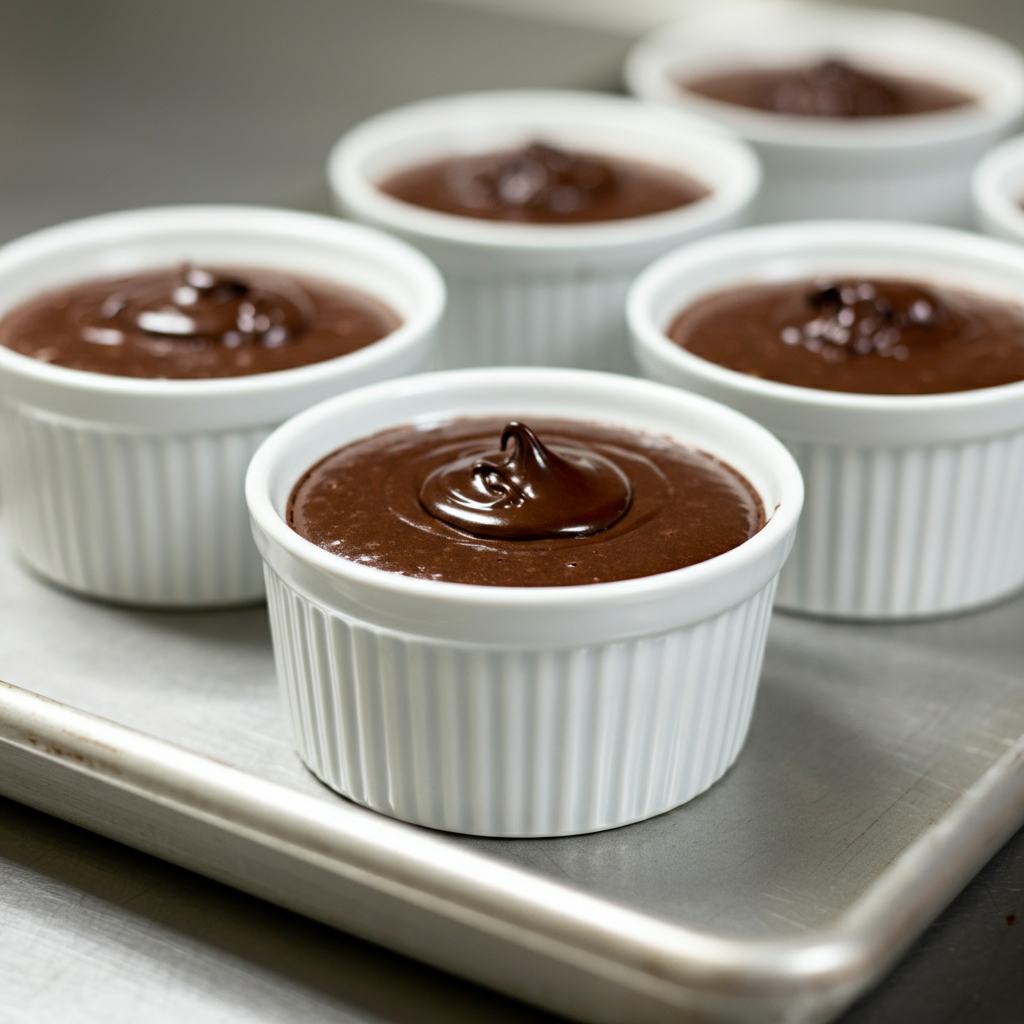
Divide the batter evenly among your prepared ramekins, filling them about three-quarters full. Bake at 425°F (220°C) for 10-12 minutes—the edges should be firm and set, but the centers should still jiggle slightly when gently shaken.
The Grand Finale
Here comes the exciting part! Run a thin knife around the edges of each ramekin to loosen the cakes. Place a serving plate upside down over each ramekin, then quickly flip them over. Let them sit for about 10 seconds before lifting the ramekin—the anticipation is half the fun!
Serving Your Chocolate Masterpieces
The moment you’ve been waiting for has arrived! Dust your warm lava pots with powdered sugar or a light sprinkle of cocoa powder for that professional bakery look. The contrast of white powdered sugar against the rich, dark chocolate is absolutely stunning.
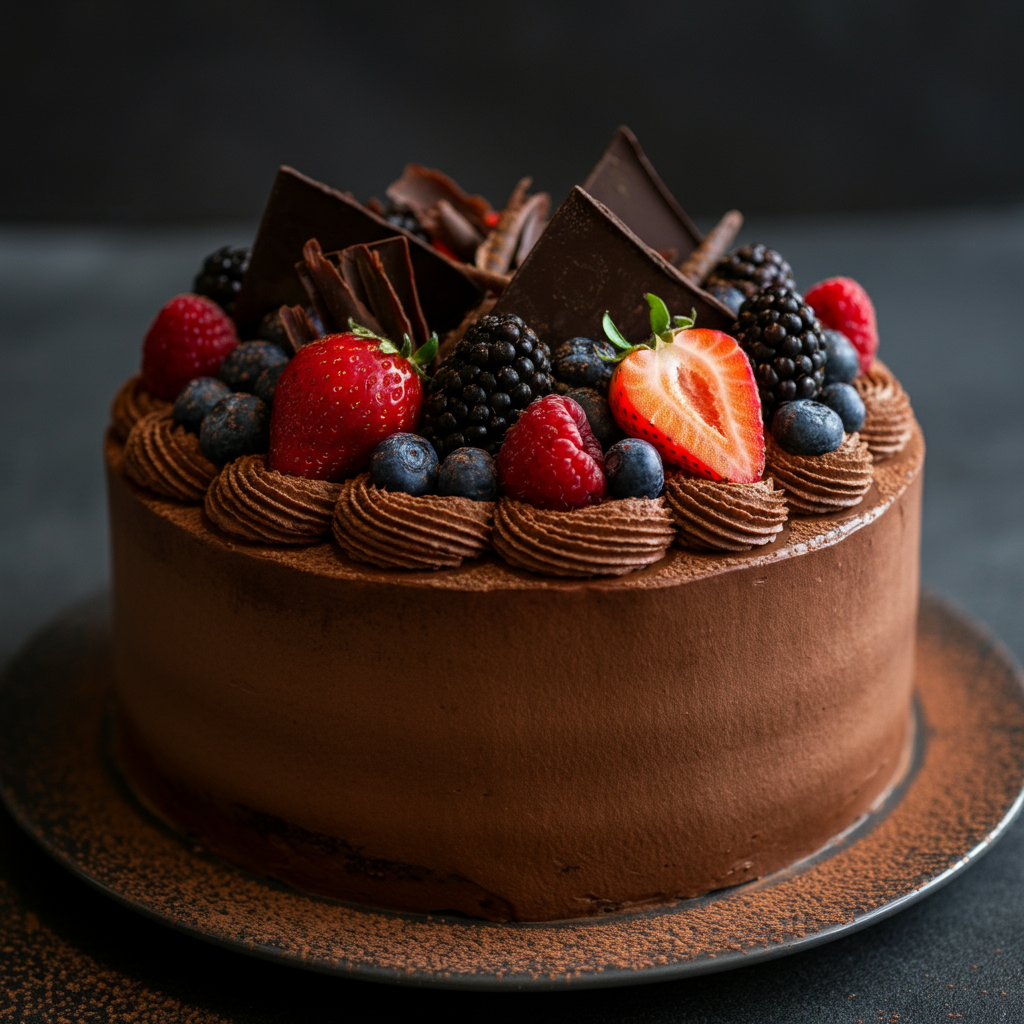
Vanilla ice cream alongside a warm lava pot creates the perfect hot-and-cold contrast that makes each bite heavenly. The cool creaminess balances the intense chocolate warmth beautifully. Fresh whipped cream offers another delightful pairing, while fresh berries—strawberries, raspberries, or blackberries—add a bright, tart note that cuts through the richness.
For an extra touch of elegance, drizzle some berry coulis around the plate or add a sprig of fresh mint. These little details transform your homemade dessert into restaurant-quality presentation.
Pro Tips and Creative Variations
Make-Ahead Magic
Want to impress without last-minute stress? Fill your ramekins with the batter and refrigerate them for up to 4 hours before baking. Just add an extra minute or two to the baking time since you’re starting with cold batter. This trick has saved me countless times when entertaining!
Flavor Adventures
Drop a square of caramel, a dollop of peanut butter, or a spoonful of fruit puree into the center of each ramekin before adding the batter. As the lava pot bakes, these additions create surprise flavor bursts that will have your guests guessing your secret.
For coffee lovers, that pinch of espresso powder I mentioned earlier intensifies the chocolate flavor without making the dessert taste like coffee—it’s pure chocolate magic!
Size Variations
Mini muffin tins create adorable bite-sized lava cakes perfect for parties or when you want portion control (though who are we kidding with chocolate lava pots?). Reduce the baking time to 6-8 minutes for these smaller versions.
Troubleshooting Your Lava Pots
If your centers aren’t molten enough, reduce the baking time by a minute next time. If they’re too runny, add an extra 30 seconds to the baking time. Every oven is different, so don’t be afraid to adjust based on your results.
The key is watching for that perfect balance where the edges are set but the center still has a gentle jiggle when you lightly shake the ramekin.
Your Next Chocolate Adventure Awaits
There’s something deeply satisfying about mastering a dessert that never fails to amaze. These chocolate lava pots represent the perfect marriage of technique and indulgence—impressive enough for special occasions yet simple enough to whip up when you’re craving something extraordinary.
The next time you want to create a memorable dessert experience, remember that the magic lies not just in the flowing chocolate center, but in the joy of sharing something you’ve crafted with your own hands. So gather your ingredients, preheat that oven, and get ready to create some seriously swoon-worthy chocolate moments!