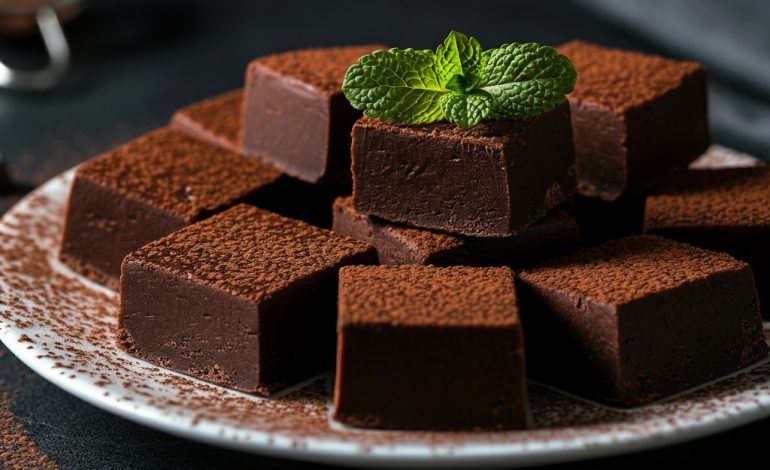
There’s something magical about homemade chocolate fudge that instantly transports you back to childhood memories of sweet treats and special occasions. The moment you bite into a piece of perfectly crafted fudge, your teeth sink through that firm outer layer, revealing a creamy, dense interior that melts luxuriously on your tongue. Rich chocolate fudge isn’t just a candy—it’s an experience that brings joy to both the maker and anyone lucky enough to receive a piece.
What makes this rich chocolate fudge recipe truly special is its beautiful simplicity. With just a handful of quality ingredients and minimal preparation time, you can create an indulgent treat that rivals any fancy confectionery shop. The beauty lies in the contrast between the deep, intense chocolate flavor and the smooth, velvety texture that practically dissolves in your mouth.
Whether you’re planning to surprise loved ones with homemade gifts, need an impressive dessert for your next gathering, or simply want to treat yourself to something extraordinary, this fudge recipe delivers every time. The best part? You don’t need any special equipment or advanced confectionery skills to achieve professional-looking results.
Essential Ingredients for Perfect Fudge
The secret to exceptional rich chocolate fudge starts with choosing the right ingredients. Quality matters tremendously when you’re working with so few components, as each one plays a crucial role in creating that signature texture and flavor.
Semi-sweet or dark chocolate forms the foundation of your fudge. Opt for high-quality chocolate with at least 60% cocoa content for the most intense flavor. You can use either chopped chocolate bars or chocolate chips, though chopped chocolate often melts more smoothly and creates a silkier finish.
Sweetened condensed milk acts as both a sweetener and binding agent, creating that characteristically dense fudge texture. This ingredient is what transforms your chocolate from a simple ganache into proper fudge with its firm yet creamy consistency.
Unsalted butter adds richness and helps create that melt-in-your-mouth quality. Using unsalted butter allows you to control the salt content while contributing to the smooth, luxurious mouthfeel.
Vanilla extract brightens the chocolate flavor and adds depth to the overall taste profile. Pure vanilla extract works best, though you can experiment with different varieties like Madagascar or Tahitian vanilla for unique flavor notes.
A pinch of salt might seem insignificant, but it’s absolutely essential for balancing the sweetness and enhancing the chocolate’s natural flavor. Don’t skip this ingredient!
Optional Add-ins for Customization
The beauty of homemade fudge lies in its versatility. Chopped nuts like walnuts, pecans, or almonds add wonderful texture contrast and complement chocolate beautifully. Sea salt flakes sprinkled on top create an irresistible sweet-salty combination that’s absolutely divine. For those who love variety, consider adding dried fruits like cranberries or cherries, or even crushed candy pieces for fun texture surprises.
Step-by-Step Preparation Guide
Creating perfect rich chocolate fudge is surprisingly straightforward once you understand the process. The key is working with gentle heat and constant stirring to achieve that smooth, glossy consistency.
Preparing Your Workspace
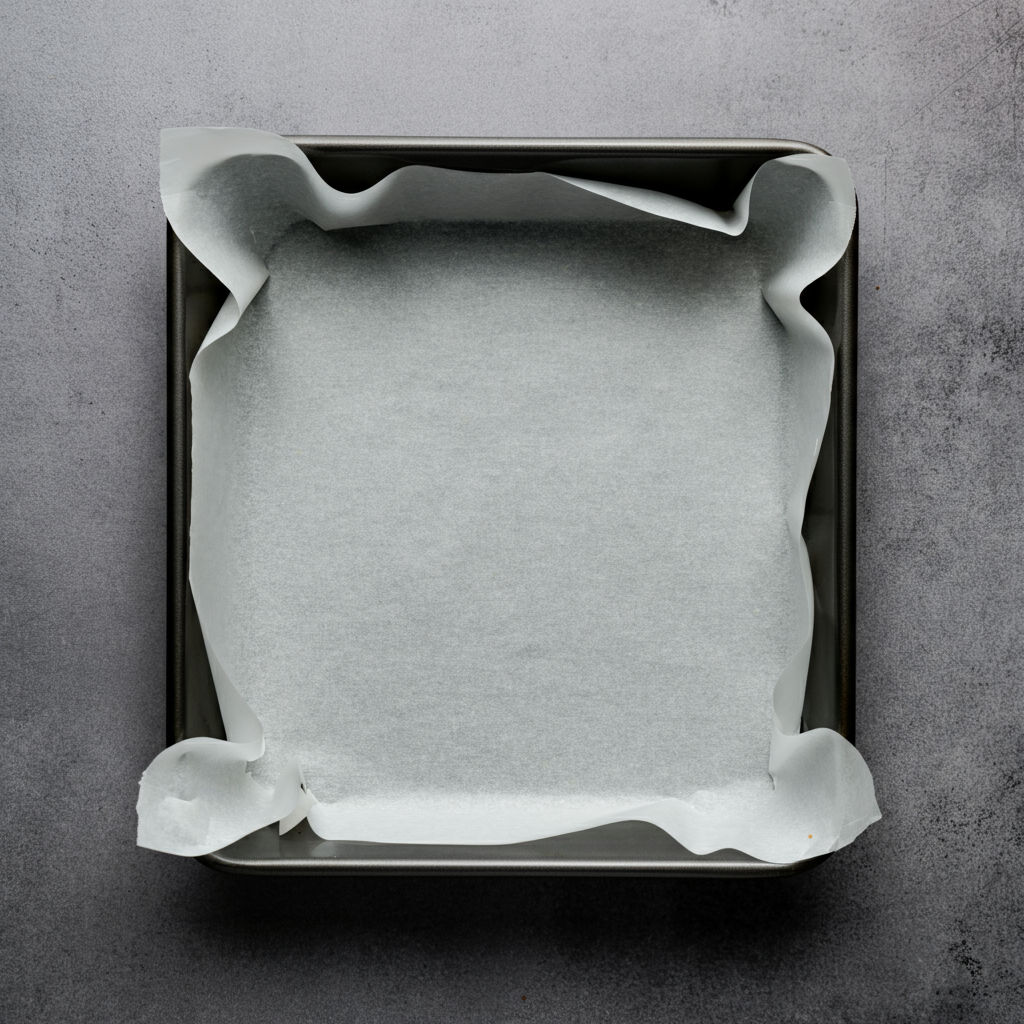
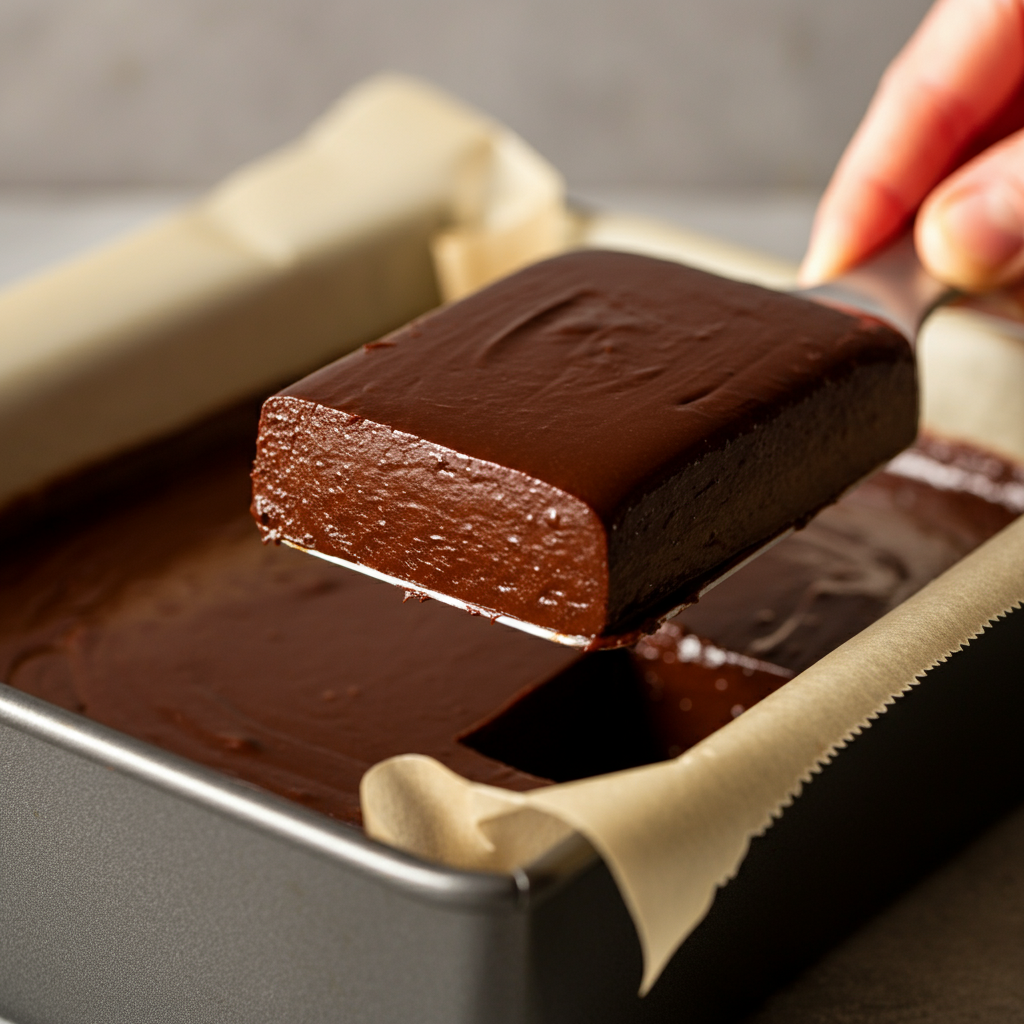
Start by lining an 8×8-inch pan with parchment paper, leaving enough overhang on the sides for easy lifting later. This simple step makes removing your finished fudge effortless and ensures clean, professional-looking edges when you cut your squares.
The Melting Process
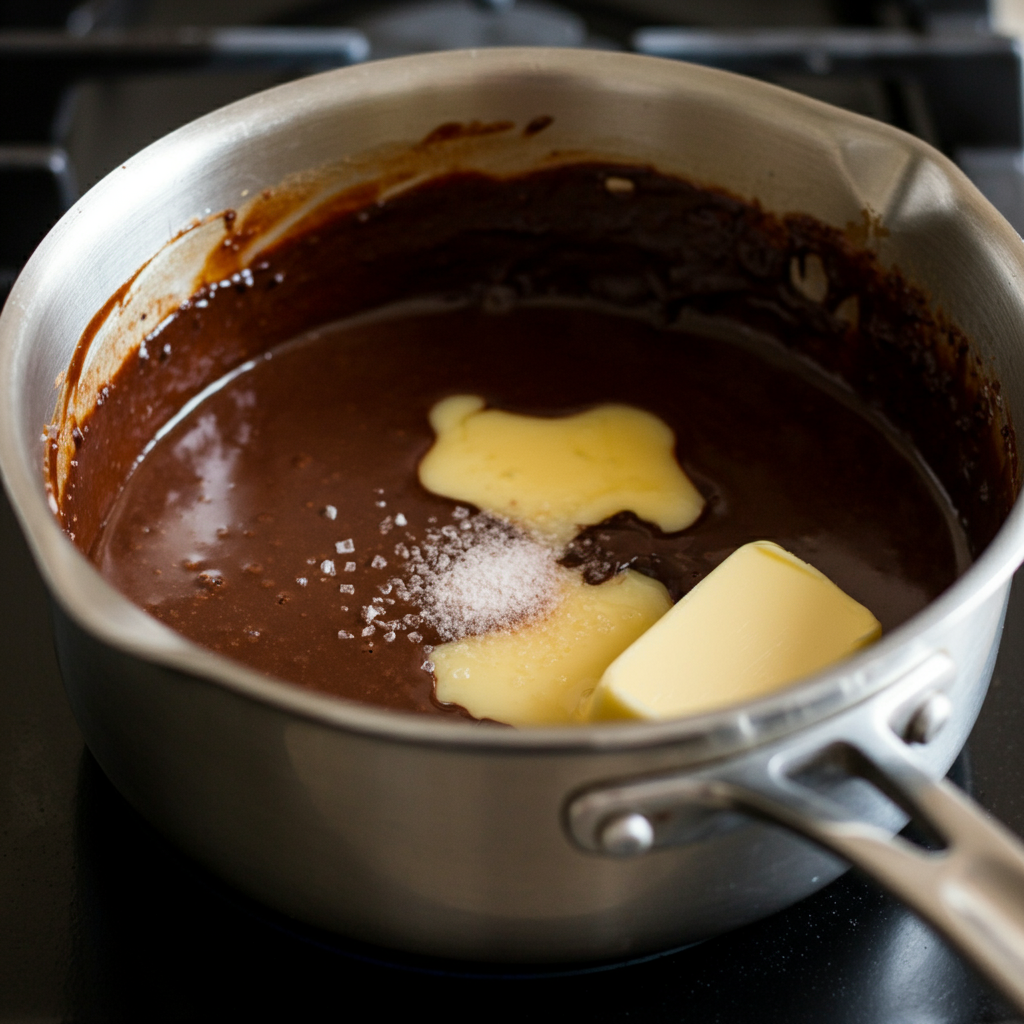
In a heavy-bottomed saucepan, combine your chocolate, sweetened condensed milk, butter, and salt. The heavy bottom prevents hot spots that could cause your chocolate to burn or seize. Place the pan over low heat—this is crucial! High heat is the enemy of smooth fudge.
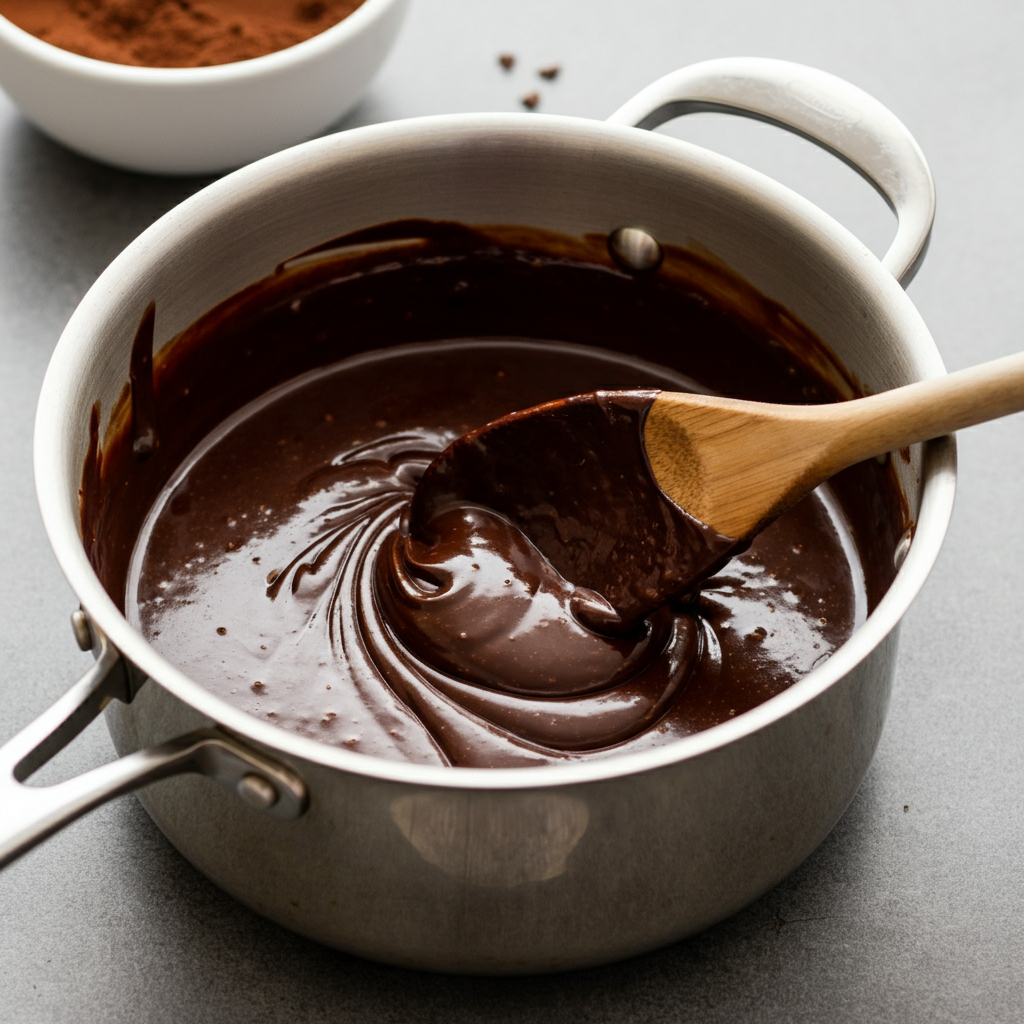
Stir continuously with a wooden spoon or heat-resistant spatula as the ingredients begin to melt and combine. Watch as the mixture transforms from a chunky, separated mess into a smooth, glossy river of chocolate. This process usually takes 5-7 minutes, but don’t rush it. The gradual melting ensures a silky texture without any grittiness.
Adding the Final Touches
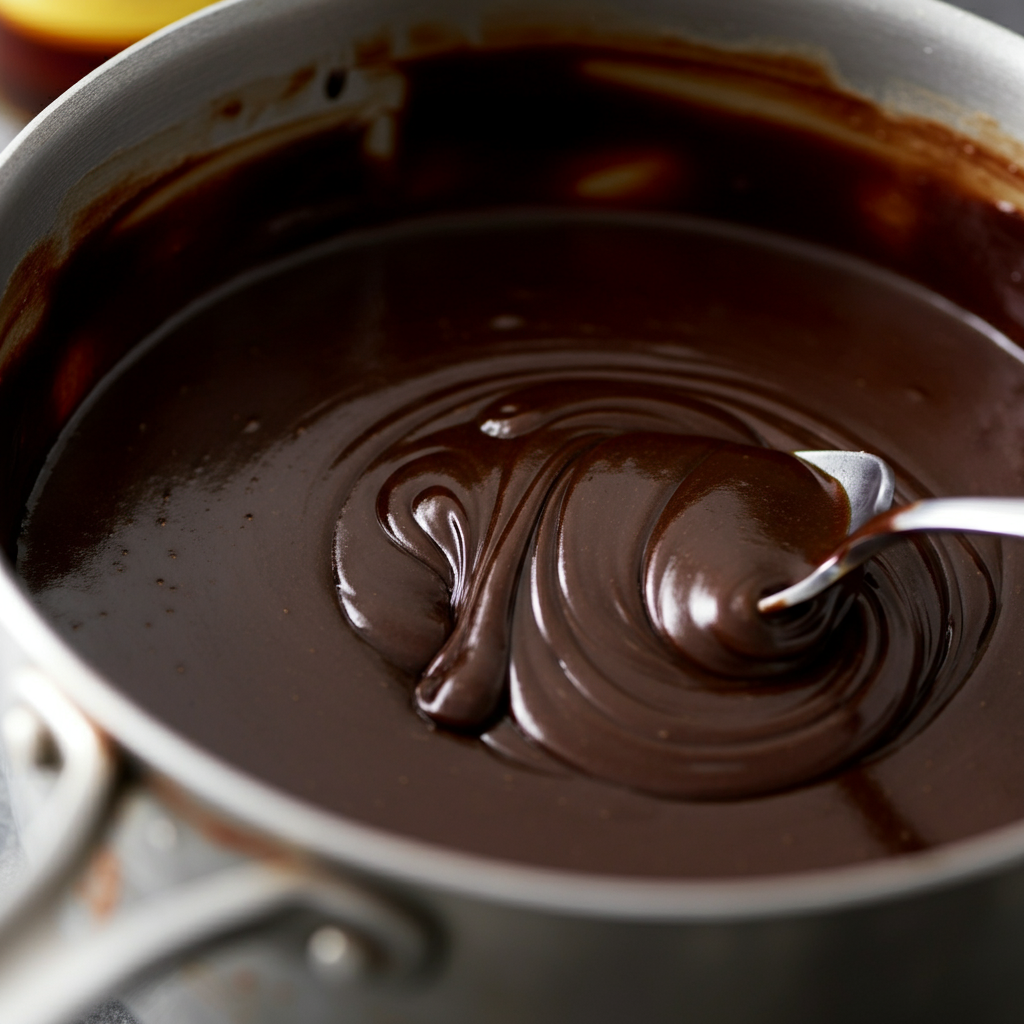
Once your mixture is completely smooth and glossy, remove it from heat immediately. This is when you’ll stir in your vanilla extract and any optional add-ins you’ve chosen. The residual heat will be enough to incorporate these ingredients without overcooking the fudge.
Setting Your Fudge
Pour the warm mixture into your prepared pan, using a spatula to spread it evenly into all corners. Smooth the top for a professional appearance, then resist the temptation to taste-test just yet! The fudge needs time to properly set.
Refrigerate your fudge for 2-3 hours, or until it feels firm to the touch. Proper chilling is essential for achieving clean cuts and the right texture. I’ve learned through experience that patience during this step makes all the difference in the final result.
Creative Serving and Presentation Ideas
Once your fudge has set completely, lift it out of the pan using the parchment paper overhang. This is such a satisfying moment—seeing that perfect block of chocolate ready for cutting!
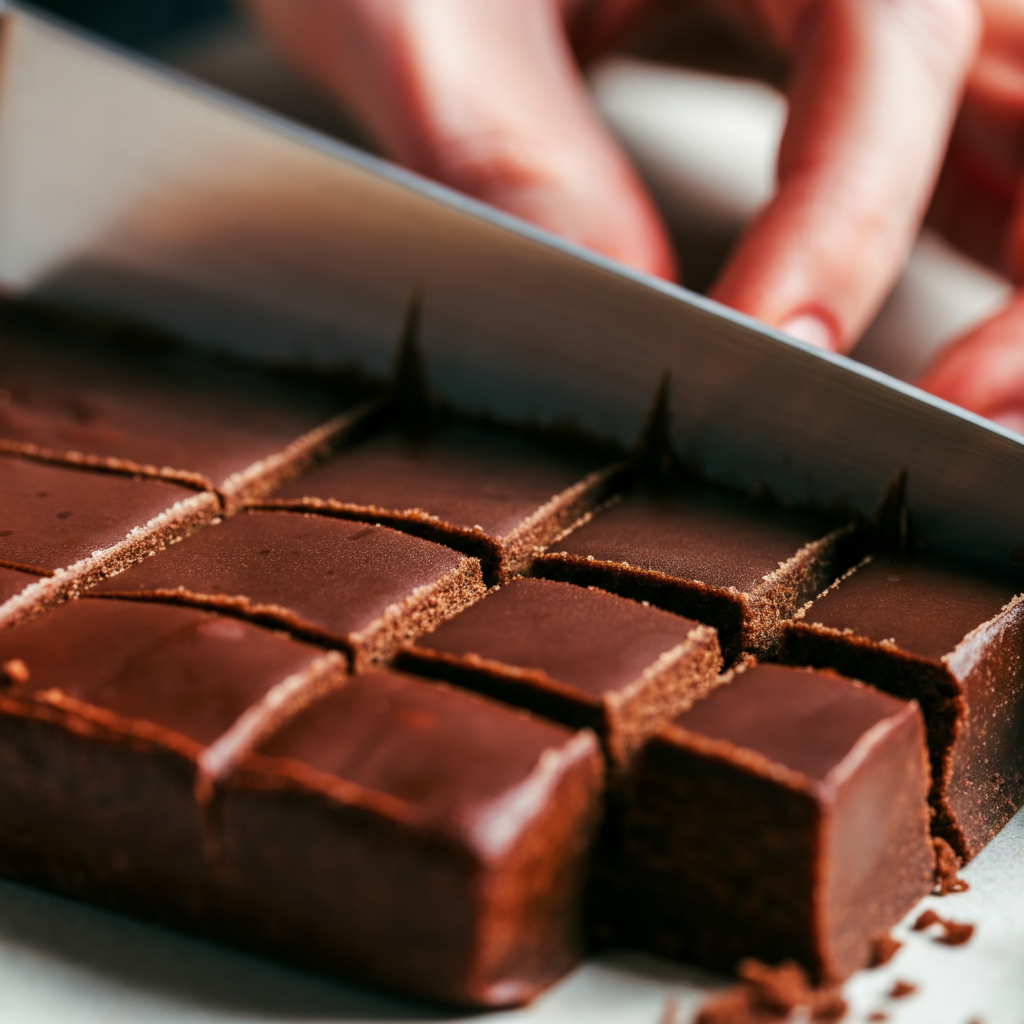
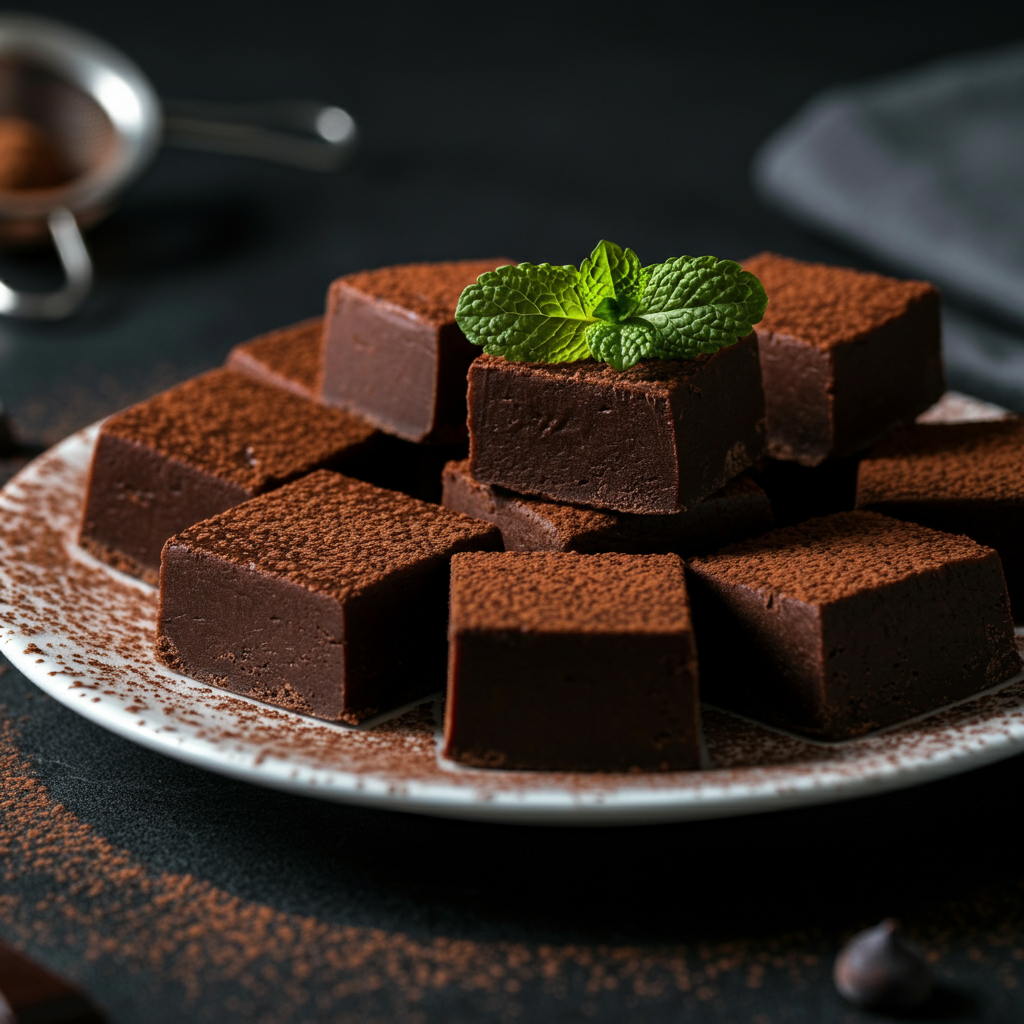
Cut your fudge into small squares using a sharp knife. Clean the blade between cuts for the neatest appearance. These bite-sized pieces are perfect for serving alongside coffee or tea, creating an elegant ending to any meal.
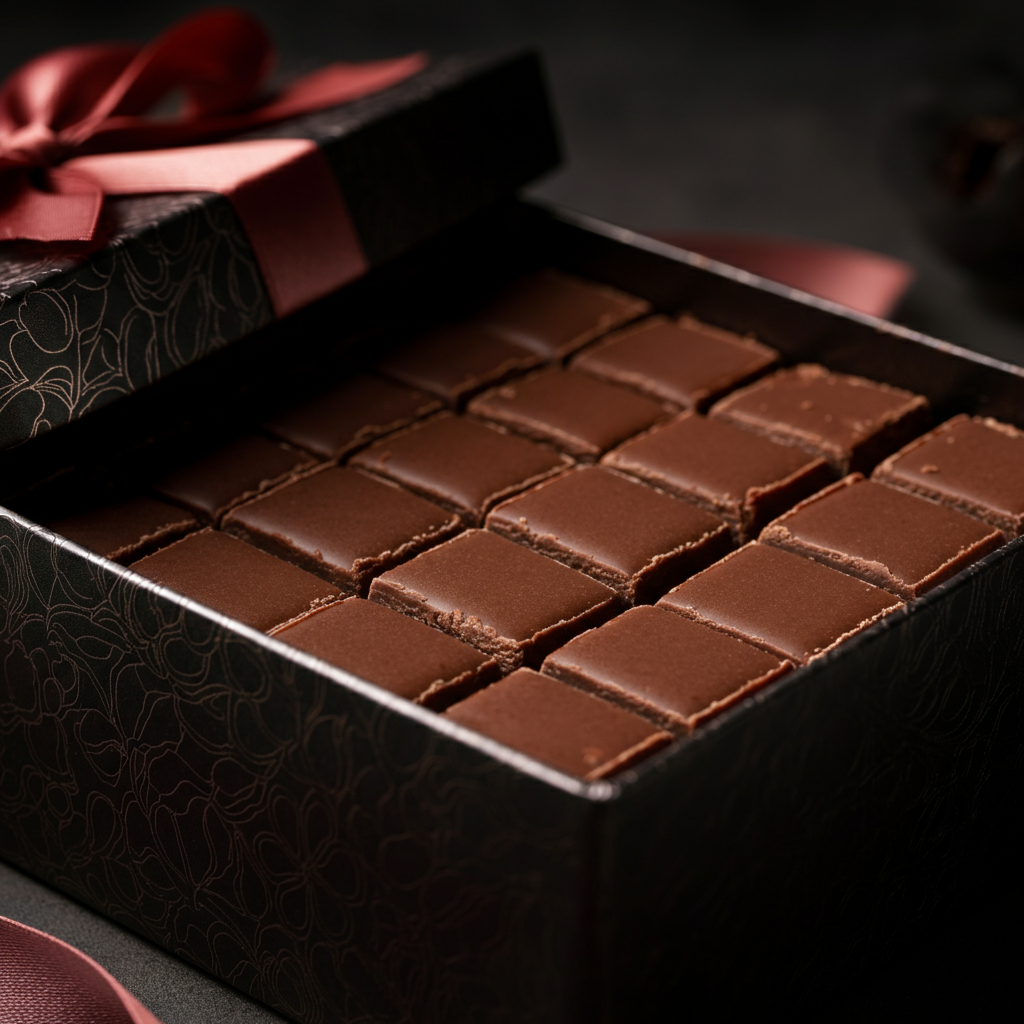
For gift-giving, arrange your fudge squares in decorative boxes or mason jars. Homemade fudge makes an incredibly thoughtful present for holidays, teacher appreciation, or any special occasion. The rich, indulgent nature of the treat shows how much you care about the recipient.
Expert Tips and Delicious Variations
After making countless batches of fudge over the years, I’ve discovered several techniques that elevate this simple recipe to extraordinary heights.
For an even silkier texture, try substituting heavy cream for the butter. This creates an incredibly rich, almost truffle-like consistency that’s absolutely divine. The cream adds a luxurious mouthfeel that makes each bite feel like a special occasion.
Layered fudge opens up endless creative possibilities. Pour half your chocolate mixture into the pan, add a layer of peanut butter, caramel, or white chocolate, then top with the remaining chocolate mixture. The visual appeal is stunning, and the flavor combinations are endless.
For adults who enjoy a little indulgence, try adding a splash of Baileys, Kahlua, or bourbon to your mixture after removing it from heat. The alcohol adds complexity and sophistication to the flavor profile while maintaining that perfect fudge texture.
Your Sweet Success Awaits
Creating rich chocolate fudge at home is one of those rewarding culinary adventures that delivers maximum impact with minimal effort. The satisfaction of cutting into that perfect block of homemade fudge, seeing the clean edges and knowing you created something so delicious with your own hands, never gets old.
Don’t be surprised if this becomes your go-to recipe for special occasions, last-minute gifts, or those moments when you simply want to treat yourself to something extraordinary. The combination of quality ingredients, simple techniques, and your personal touch creates something far more special than anything you could buy in a store.
Gather your ingredients, clear some space in your refrigerator, and get ready to create the kind of rich chocolate fudge that becomes legendary among your friends and family!