There’s something absolutely magical about red velvet cake that captures hearts and taste buds like no other dessert. That stunning crimson color paired with the most luxuriously smooth cream cheese frosting creates a cake that’s both visually spectacular and incredibly delicious. When I first mastered this recipe, I couldn’t believe how that subtle cocoa flavor combined with the tangy buttermilk created such a unique and unforgettable taste experience.
Red velvet cake isn’t just another chocolate cake with food coloring—it’s a masterpiece with its own distinct personality. The gentle hint of cocoa gives it depth without overwhelming sweetness, while the buttermilk and vinegar create that signature tender crumb that practically melts in your mouth. And let’s be honest, that gorgeous red color makes every slice feel like a celebration!
Whether you’re planning a romantic dinner, celebrating a special occasion, or simply want to treat yourself to something extraordinary, this red velvet cake recipe will become your go-to showstopper. I’ll walk you through every step to ensure your cake turns out perfectly moist, beautifully colored, and absolutely irresistible.
Gathering Your Red Velvet Cake Ingredients
The secret to an exceptional red velvet cake lies in using the right combination of ingredients that work together to create that perfect texture and flavor. Let me share what you’ll need to create this stunning dessert.
For the Cake Layers
Start with these essential ingredients for your cake batter:
All-purpose flour forms the foundation of your cake’s structure. You’ll want to measure it carefully—too much and your cake becomes dense, too little and it won’t hold together properly.
Unsweetened cocoa powder provides that subtle chocolate undertone that distinguishes red velvet from ordinary vanilla cake. We’re not looking for intense chocolate flavor here, just a gentle hint that adds complexity.
Baking soda and salt work as your leavening team. The baking soda reacts with the acidic ingredients to create lift, while salt enhances all the other flavors.
Unsalted butter should be softened to room temperature for easy creaming. This creates air pockets that make your cake light and fluffy.
Granulated sugar sweetens the cake while contributing to its tender texture when creamed with the butter.
Fresh eggs at room temperature bind everything together and add richness. Room temperature eggs incorporate more easily into your batter.
Vegetable oil might seem unusual alongside butter, but this is the secret to achieving that incredibly moist texture that red velvet is famous for.
Buttermilk provides the signature tang and helps create that tender crumb. If you don’t have buttermilk, you can make a substitute by adding a tablespoon of vinegar to regular milk.
White vinegar works with the baking soda to create extra lift and adds to that characteristic slight tang.
Pure vanilla extract rounds out all the flavors beautifully.
Red food coloring creates that iconic crimson hue. You’ll need a generous amount to achieve that vibrant red color.
For the Cream Cheese Frosting
The frosting is just as important as the cake itself:
Cream cheese must be softened to room temperature to avoid lumps. This creates that tangy, rich base that complements the cake perfectly.
Unsalted butter, also softened, adds richness and helps create the perfect spreading consistency.
Powdered sugar sweetens and thickens the frosting. Sift it if you want an ultra-smooth result.
Vanilla extract ties all the frosting flavors together beautifully.
Creating Your Red Velvet Masterpiece
Now comes the exciting part—transforming these simple ingredients into cake magic! I love how methodical yet creative this process feels.
Preparing Your Cake Batter
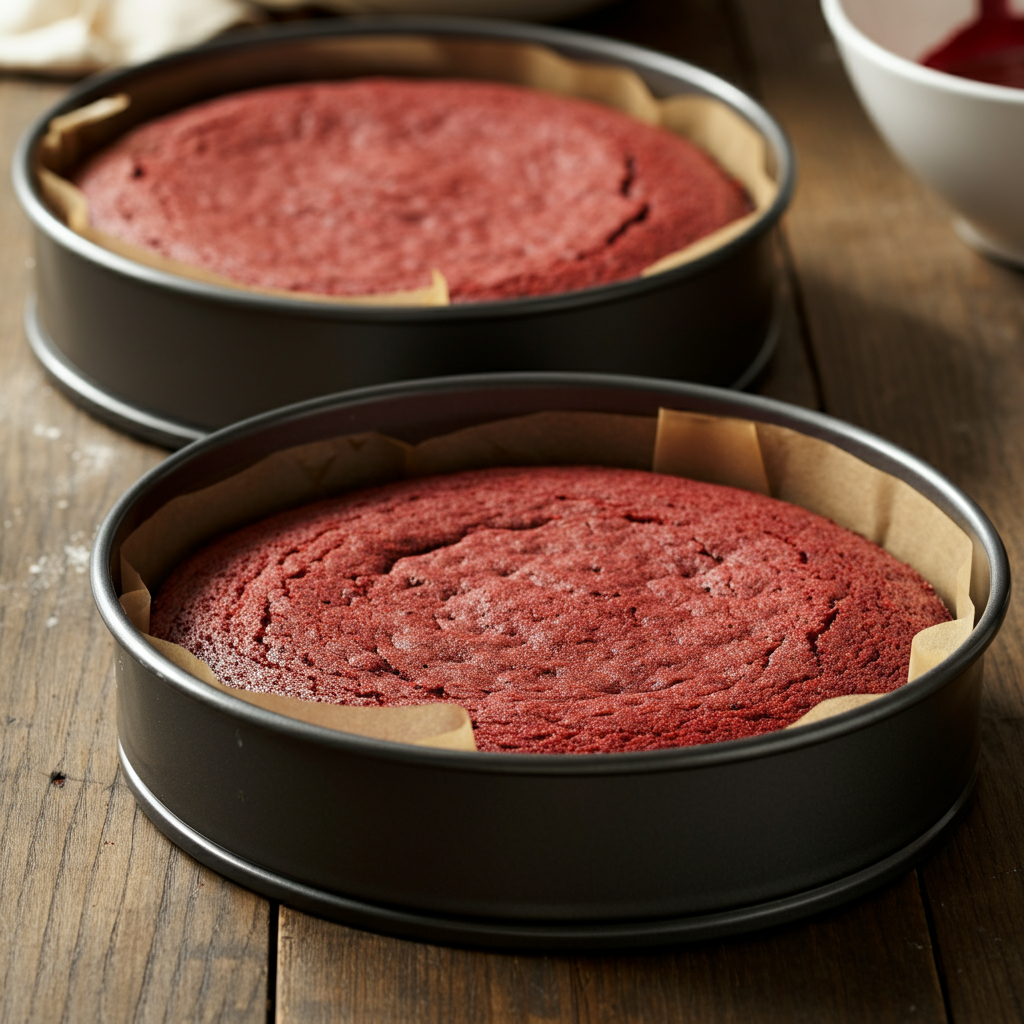
Start by preheating your oven to 350°F (175°C) and prepare your cake pans by greasing them thoroughly and lining the bottoms with parchment paper. This ensures your beautiful layers will release perfectly.
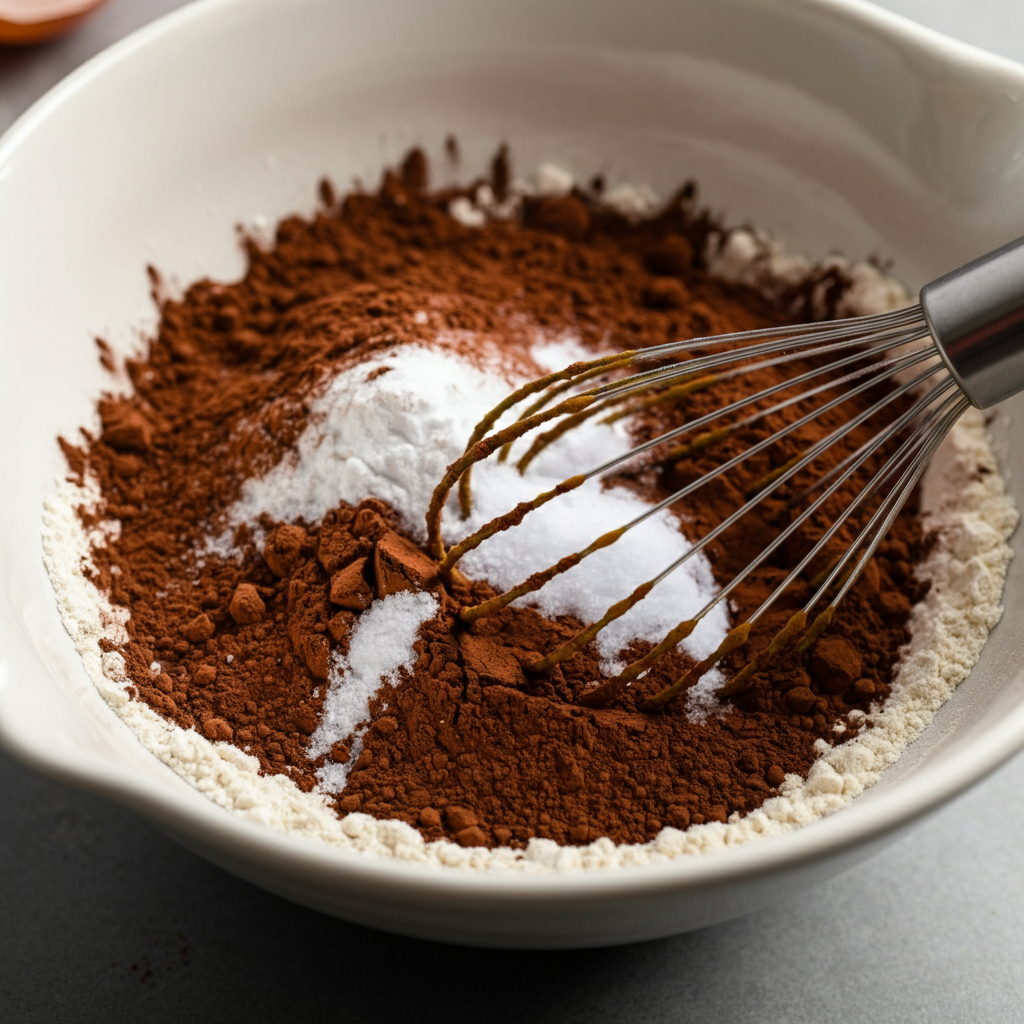
In a medium bowl, whisk together your flour, cocoa powder, baking soda, and salt. Set this dry mixture aside—you’ll fold it in at the very end to avoid overmixing.
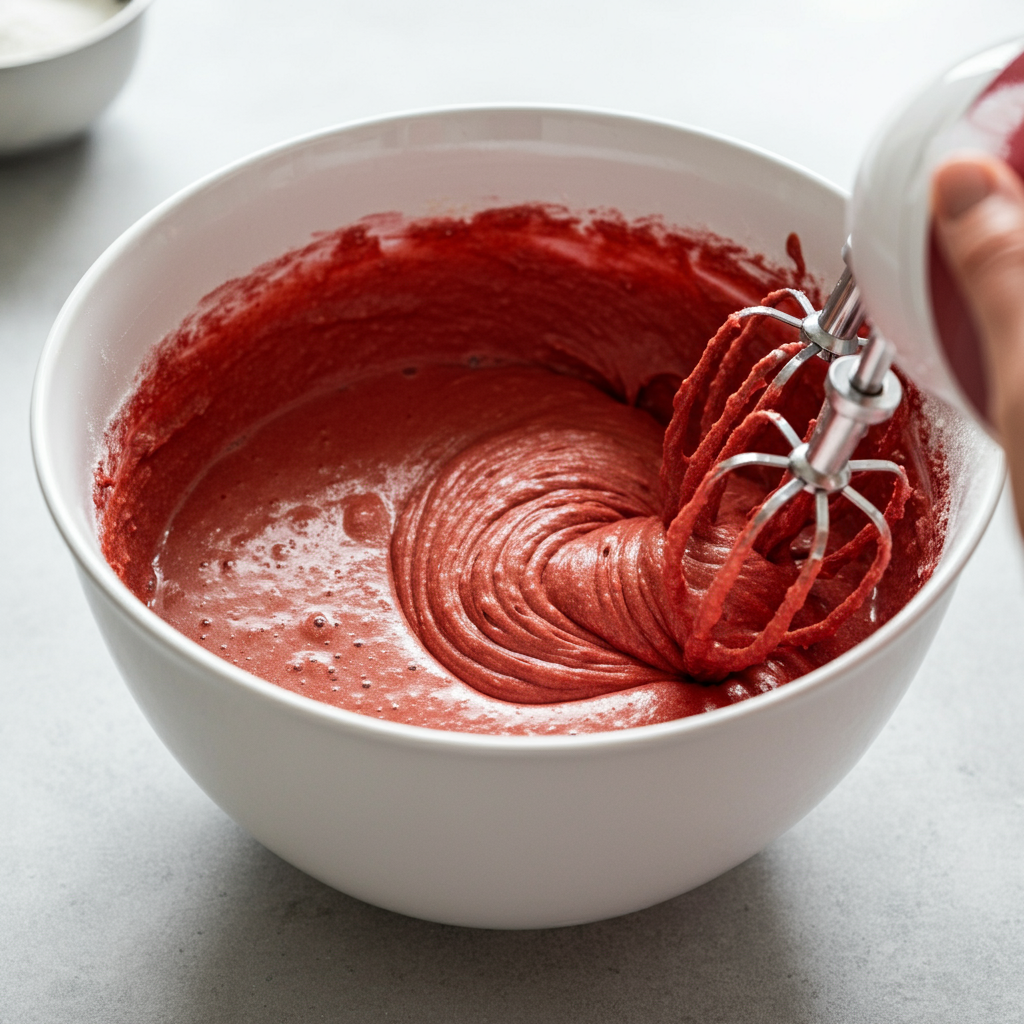
Here’s where the magic begins! In a large mixing bowl, cream your softened butter with the granulated sugar until the mixture becomes light and fluffy. This usually takes about 3-4 minutes with an electric mixer. The mixture should look pale and airy—this step creates the foundation for your cake’s tender texture.

Beat in your eggs one at a time, making sure each one is fully incorporated before adding the next. Then mix in your vanilla extract and vegetable oil. The batter might look a bit unusual at this point, but trust the process!
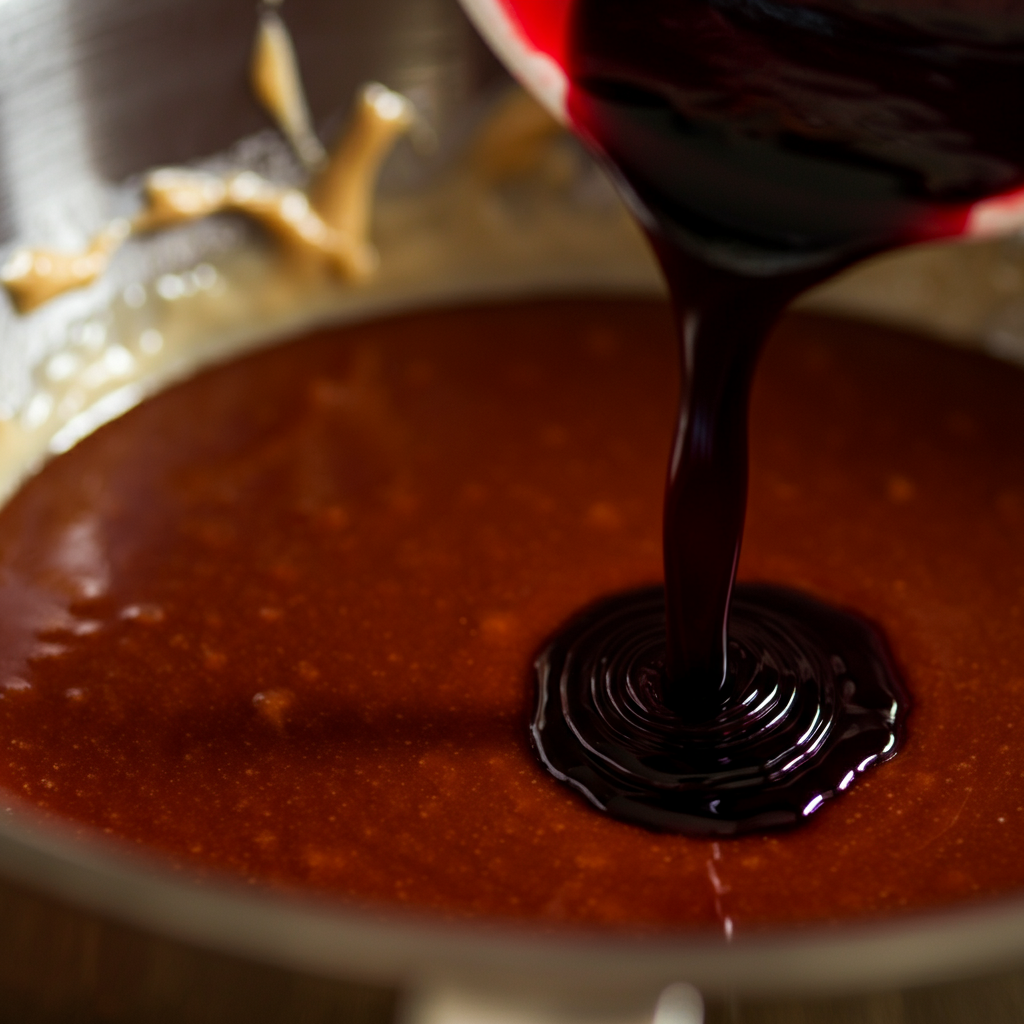
Now for the fun part—add your red food coloring! Start with about 2 tablespoons and mix thoroughly. You want a vibrant, deep red color that will hold up during baking. Don’t be afraid to add more if needed.
Next, mix in the vinegar and buttermilk. The batter might curdle slightly when you add these acidic ingredients, but don’t worry—this is completely normal and will smooth out.
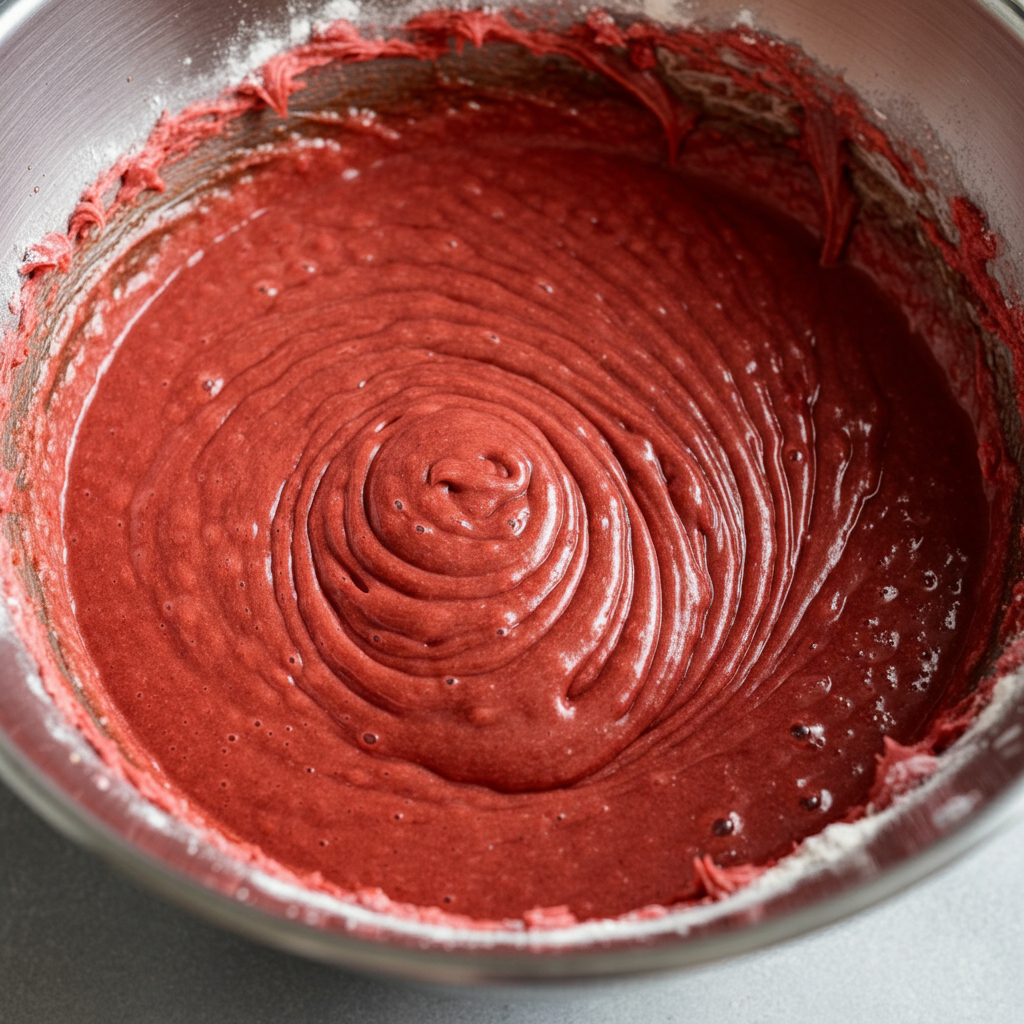
Finally, gently fold in your flour mixture until just combined. Overmixing at this stage can make your cake tough, so stop as soon as you don’t see any dry flour streaks.
Baking to Perfection
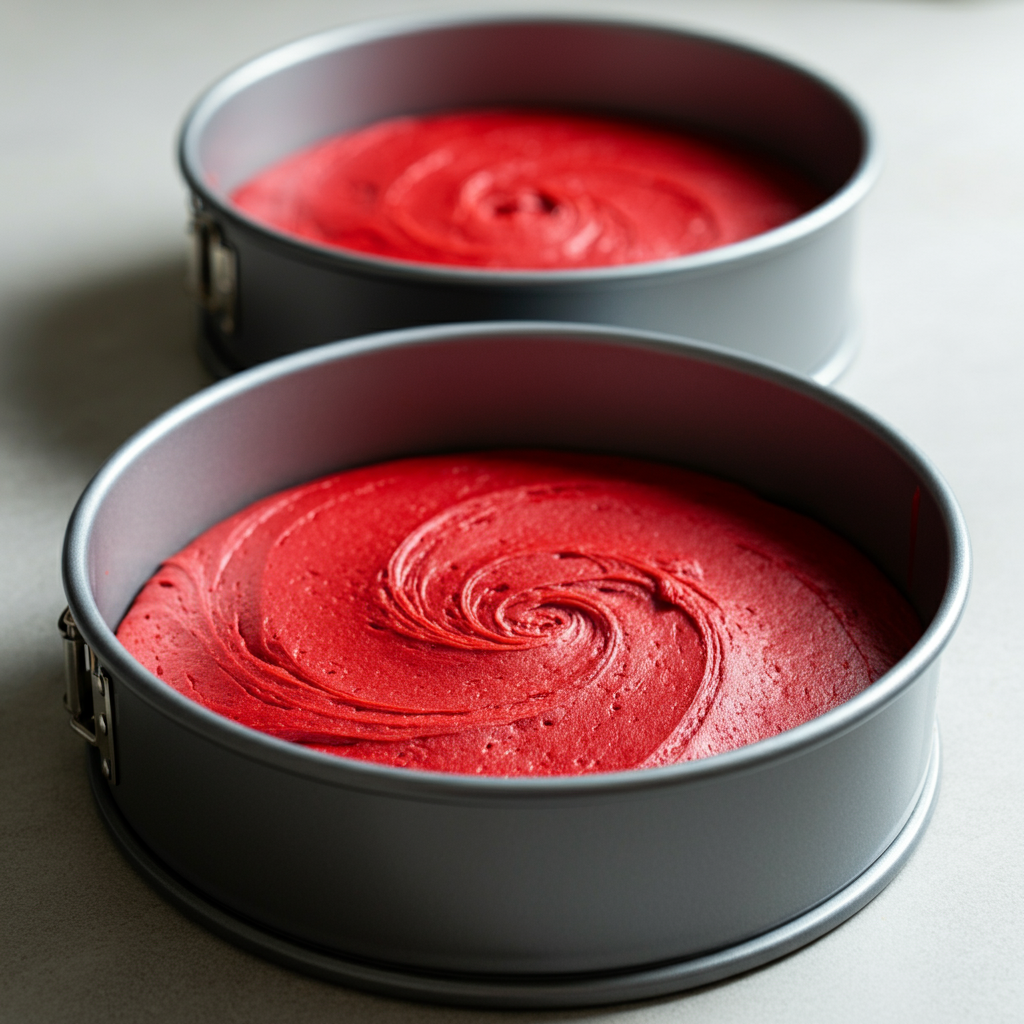
Divide your beautiful red batter evenly between your prepared pans. A kitchen scale makes this super easy, but you can also eyeball it if you’re feeling confident.
Bake for 25-30 minutes, until a toothpick inserted in the center comes out clean or with just a few moist crumbs. The tops should spring back lightly when touched. Don’t overbake—red velvet cake is meant to be moist and tender!
Let the cakes cool in their pans for about 10 minutes, then turn them out onto wire racks to cool completely. This cooling step is crucial—frosting a warm cake will result in melted, messy frosting.
Whipping Up That Heavenly Cream Cheese Frosting
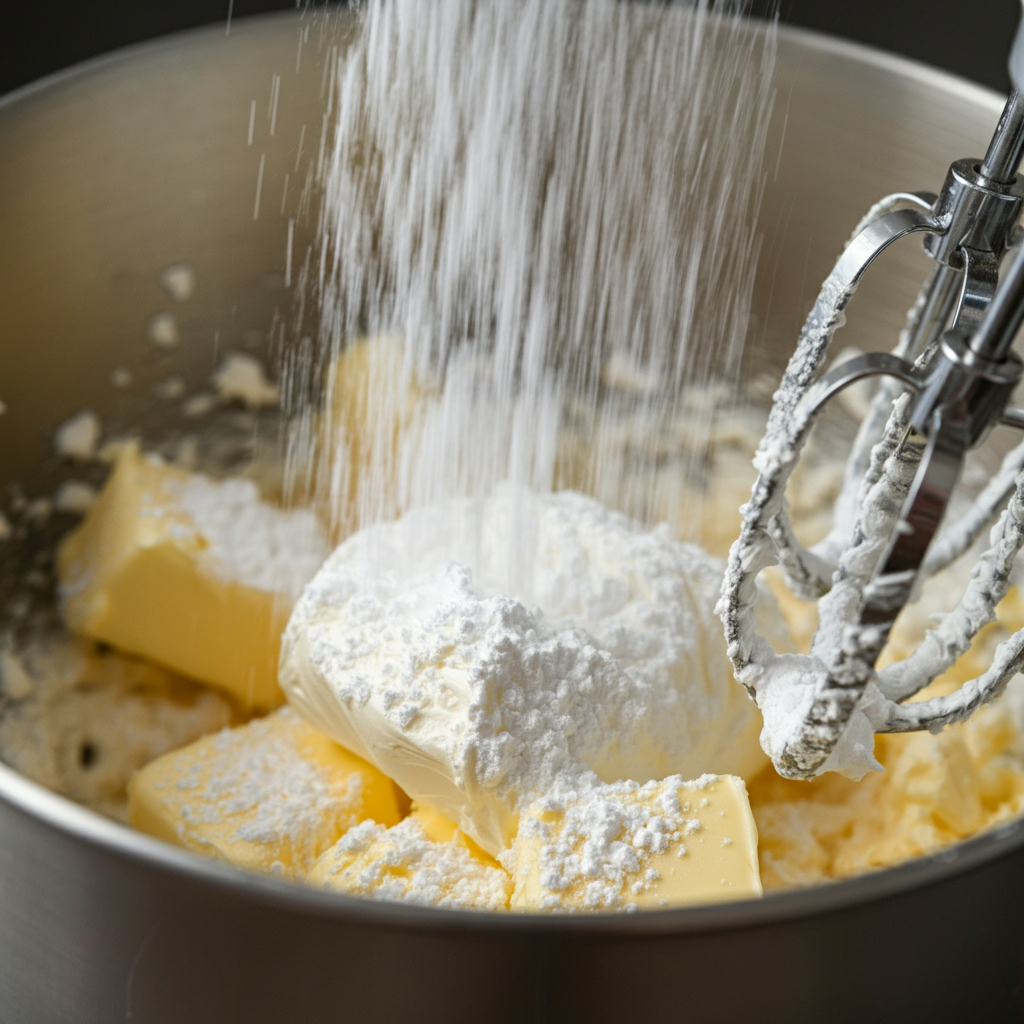
While your cakes cool, you can prepare the most luscious cream cheese frosting. Make sure your cream cheese and butter are truly at room temperature—this is the key to avoiding lumps.
Beat the cream cheese and butter together until completely smooth and creamy. This might take several minutes, but it’s worth the patience for silky-smooth results.
Gradually add your powdered sugar, beating well after each addition. The frosting will transform from loose to thick and spreadable. Finally, mix in your vanilla extract.
Assembling Your Show-Stopping Cake
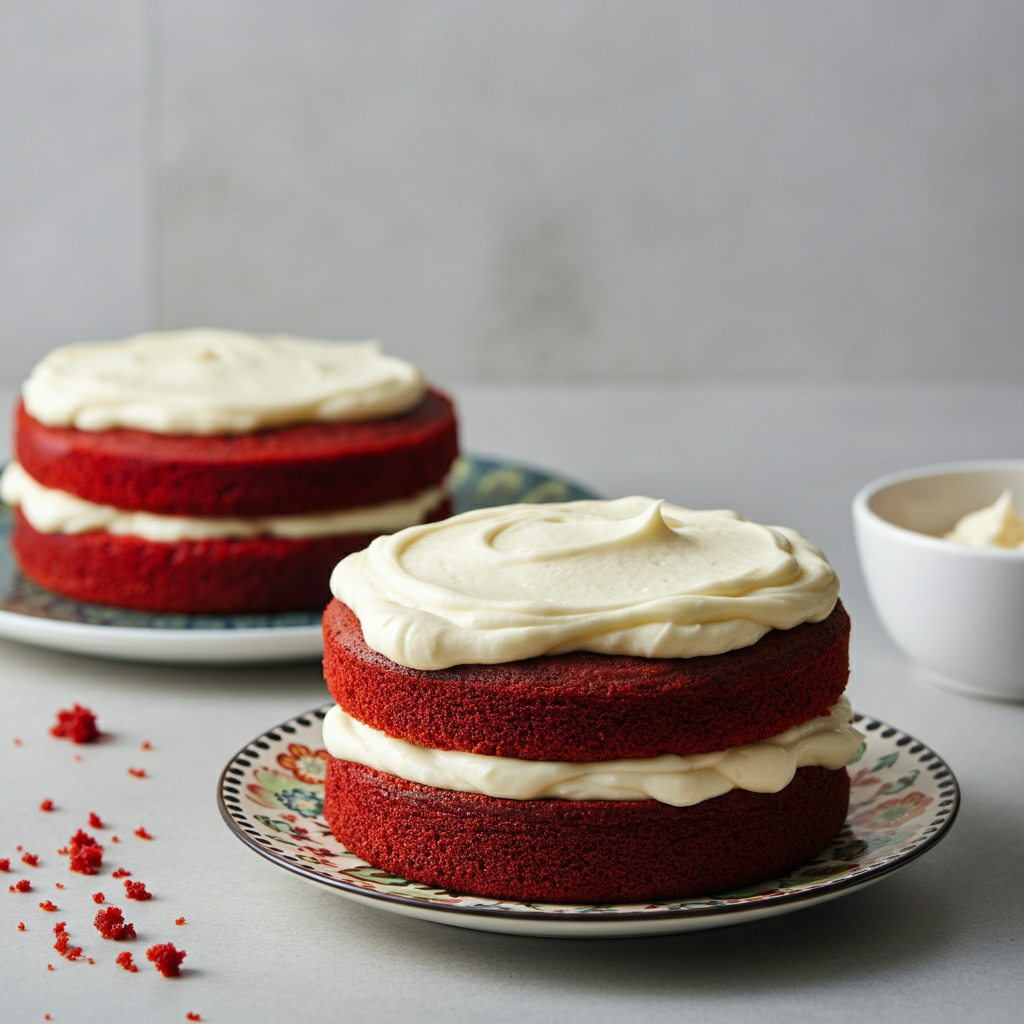
Once your cake layers are completely cool, it’s time for assembly! Place your first layer on your serving plate or cake stand. Spread a generous layer of cream cheese frosting on top, going almost to the edges.
Gently place your second layer on top, pressing lightly to adhere. Now comes the fun part—frosting the entire cake! Start with a thin crumb coat all over, then refrigerate for 30 minutes to set. This prevents cake crumbs from mixing into your final frosting layer.
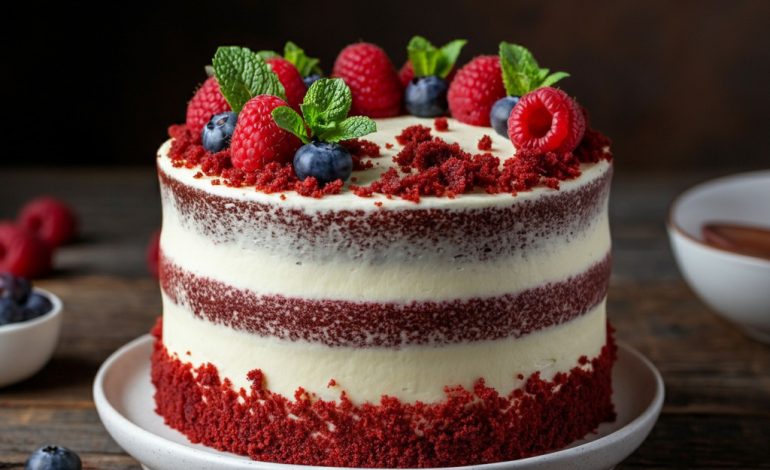
Apply your final layer of frosting, using an offset spatula to create smooth sides and top. You can make it perfectly smooth or embrace rustic swirls—both look absolutely beautiful!
Serving Your Red Velvet Creation
The moment has arrived to serve your stunning red velvet cake! For the cleanest slices, chill your cake for about an hour before cutting. Use a sharp, clean knife and wipe it between cuts for those picture-perfect slices.
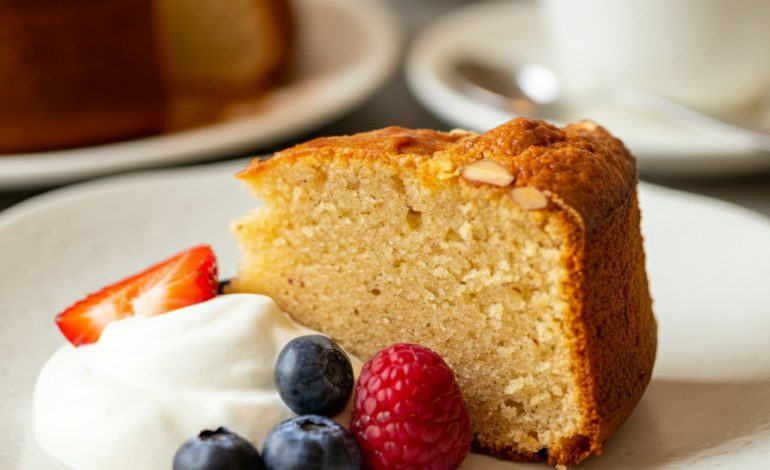
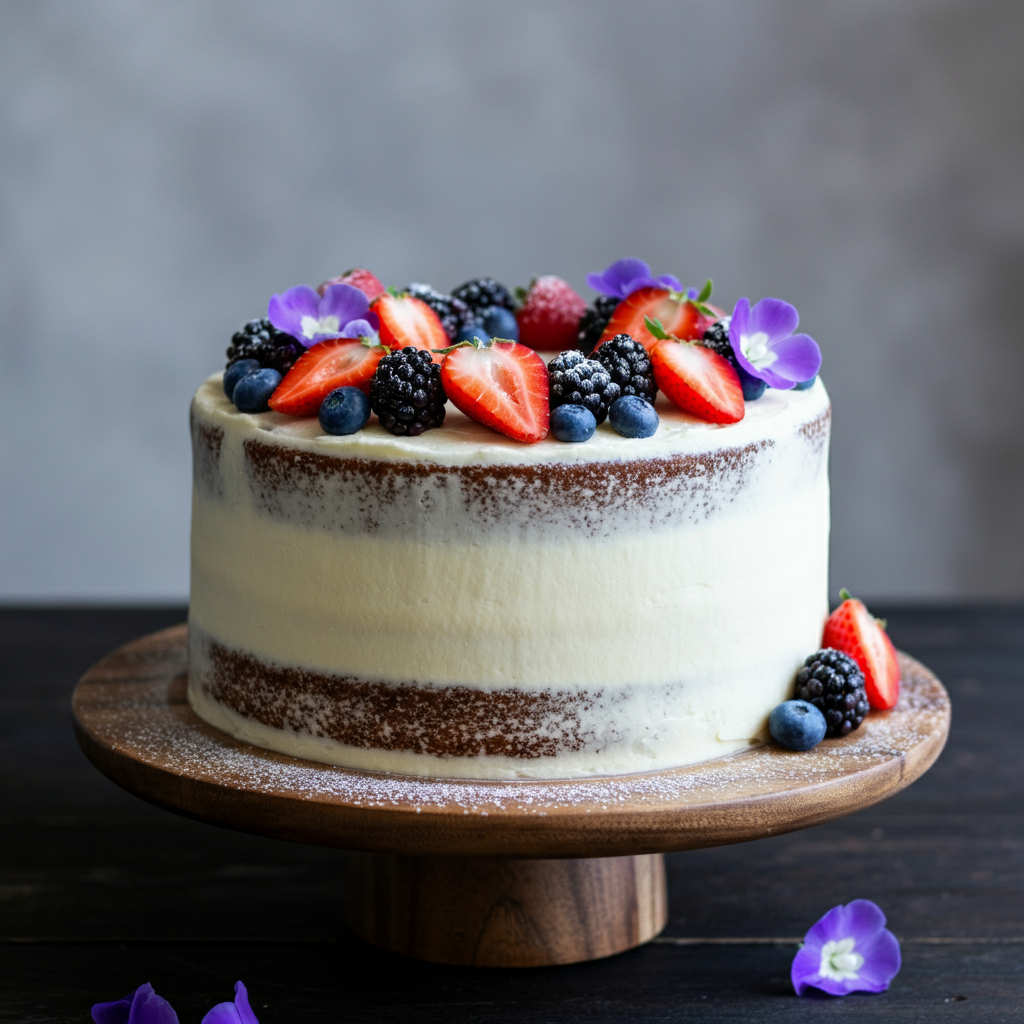
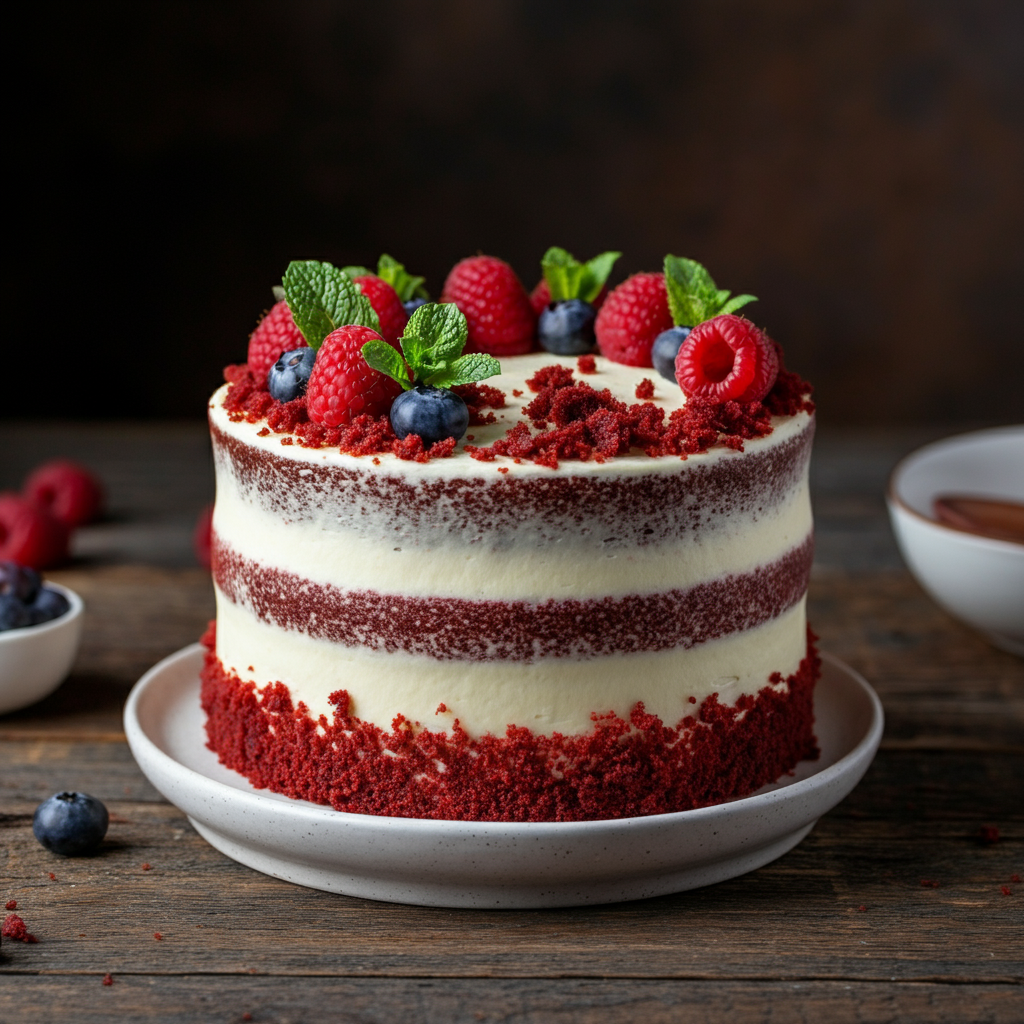
Consider garnishing your masterpiece with red velvet cake crumbs around the base, white chocolate shavings, or fresh berries like the ones in that gorgeous cake photo that makes my mouth water every time I see it. The contrast of vibrant berries against the red cake and white frosting creates such an elegant presentation.
Red velvet cake tastes incredible both chilled and at room temperature. Chilled gives you cleaner cuts and a firmer texture, while room temperature offers that melt-in-your-mouth experience that makes this cake so beloved.
Tips for Red Velvet Success
Want to try something different? This same batter makes absolutely divine red velvet cupcakes! Just divide the batter among cupcake liners and bake for 18-20 minutes. Top each cupcake with a generous swirl of cream cheese frosting for individual treats that are perfect for parties.
For a lighter version, you can reduce the sugar slightly and substitute Greek yogurt for some of the butter or oil. The cake will still be delicious while being a bit less indulgent.
Feeling fancy? Add a chocolate ganache drip around the edges for an even more decadent finish. The combination of cream cheese frosting and chocolate ganache takes this cake to bakery-level sophistication!
Your Red Velvet Adventure Awaits
Red velvet cake represents everything wonderful about baking—it’s beautiful, delicious, and brings people together around something truly special. Every time I make this cake, I’m reminded of why it remains such a beloved classic. That perfect balance of flavors, that stunning color, and especially that incredible cream cheese frosting make it a dessert that never goes out of style.
Don’t be intimidated by the process—take it step by step, and you’ll be amazed at the professional-looking results you can achieve in your own kitchen. Your family and friends will be absolutely impressed, and you’ll have the satisfaction of creating something truly extraordinary from scratch.
So grab your mixing bowls, preheat that oven, and get ready to create some red velvet magic. Trust me, once you taste a slice of this homemade masterpiece, you’ll never look at store-bought cake the same way again!