Crispy Vegetable Spring Rolls: Your New Favorite Appetizer
There’s something magical about that first bite of a perfectly crispy spring roll—the satisfying crunch as your teeth break through the golden wrapper, revealing a medley of fresh, colorful vegetables inside. The aromatic steam that escapes carries hints of sesame oil and soy sauce, making your mouth water before you’ve even taken that second bite!
I still remember the first time I attempted to make vegetable spring rolls at home. Armed with a package of spring roll wrappers and a head full of confidence, I thought it would be simple. Let me tell you, my first batch looked more like wonky little parcels than the elegant rolls I’d admired at my favorite Asian restaurant. But the taste? Absolutely divine! That’s when I realized that even imperfect spring rolls can deliver incredible flavor.
Vegetable spring rolls have been delighting food lovers for centuries, originating from Chinese cuisine and spreading throughout Southeast Asia. These crispy bundles of joy have become a beloved staple in Asian street food culture, and for good reason. They’re versatile, packed with nutrition, and absolutely irresistible when served with your favorite dipping sauce.
Whether you’re hosting a dinner party, looking for a healthy snack, or wanting to add something special to your weeknight meal, these vegetable spring rolls will become your go-to recipe. Let’s dive into creating these crispy little parcels of happiness!
What Makes the Perfect Vegetable Spring Roll
The beauty of vegetable spring rolls lies in their simplicity and versatility. Unlike their cousin, the fresh spring roll, these beauties are meant to be fried until golden and crispy. The contrast between the crunchy exterior and the tender, flavorful vegetables inside creates a textural symphony that’s absolutely addictive.
The secret to outstanding vegetable spring rolls starts with the filling. You want vegetables that maintain some bite after cooking—nobody wants mushy spring rolls! The combination of cabbage, carrots, and bell peppers provides the perfect base, while bean sprouts add an extra layer of crunch.
Gathering Your Ingredients
For the Star-Studded Vegetable Filling
The filling is where the magic happens, so let’s make sure we have everything we need:
- 2 cups cabbage, finely shredded
- 1 large carrot, julienned into thin matchsticks
- 1 bell pepper (red or yellow), sliced into thin strips
- 1 cup fresh bean sprouts (optional but highly recommended!)
- 3 green onions, finely chopped
- 3 cloves garlic, minced
- 1 tablespoon fresh ginger, minced
- 2 tablespoons soy sauce
- 1 tablespoon sesame oil
- Salt and pepper to taste
For Assembly and Cooking
- 1 package spring roll wrappers (found in the frozen section of most grocery stores)
- Vegetable oil for frying (canola or peanut oil work beautifully)
- Water or cornstarch slurry for sealing
Dipping Sauce Options
- Sweet chili sauce (my personal favorite!)
- Classic soy sauce with a splash of rice vinegar
- Creamy peanut sauce for something different
Creating Your Crispy Masterpieces
Step 1: Prepare the Filling
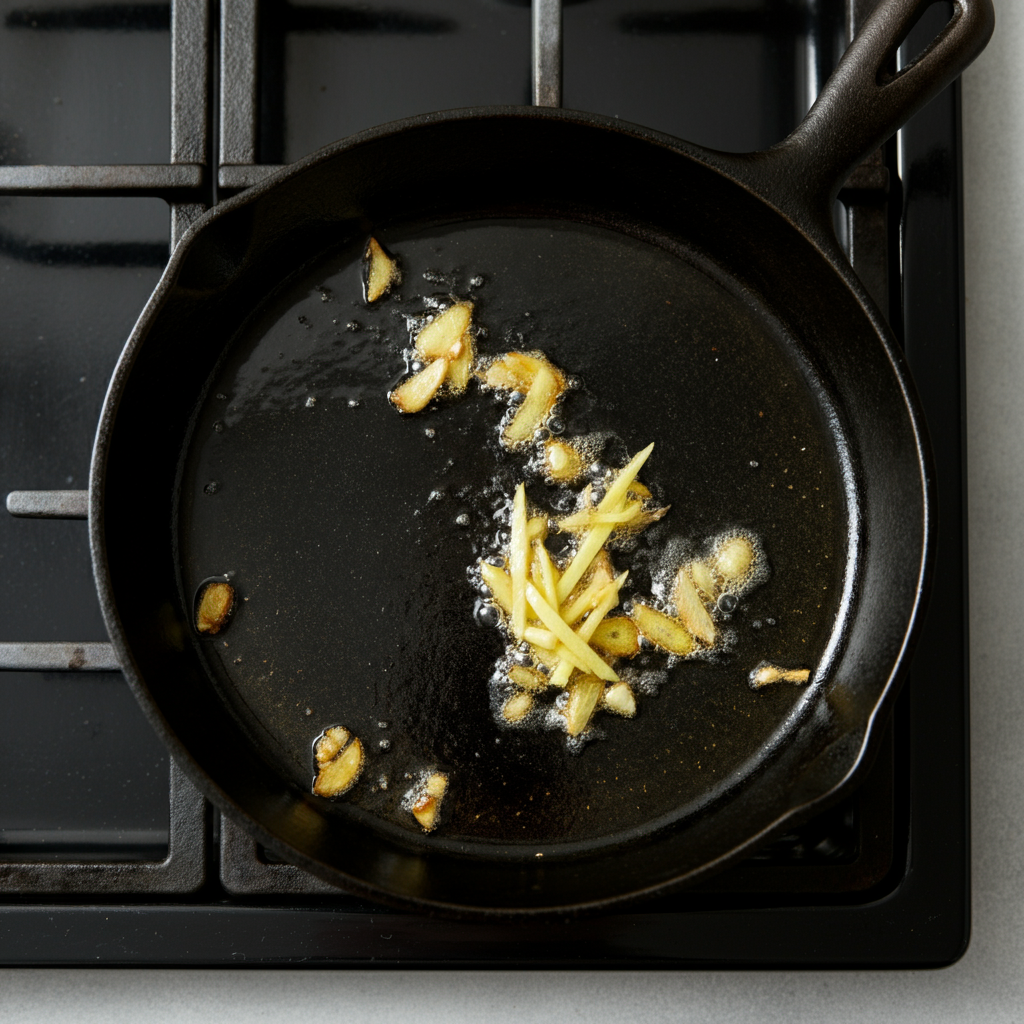
Heat a tablespoon of oil in your largest skillet or wok over medium-high heat. The sizzle when you add the garlic and ginger should make your kitchen smell absolutely incredible! Sauté these aromatics for about 30 seconds until fragrant.
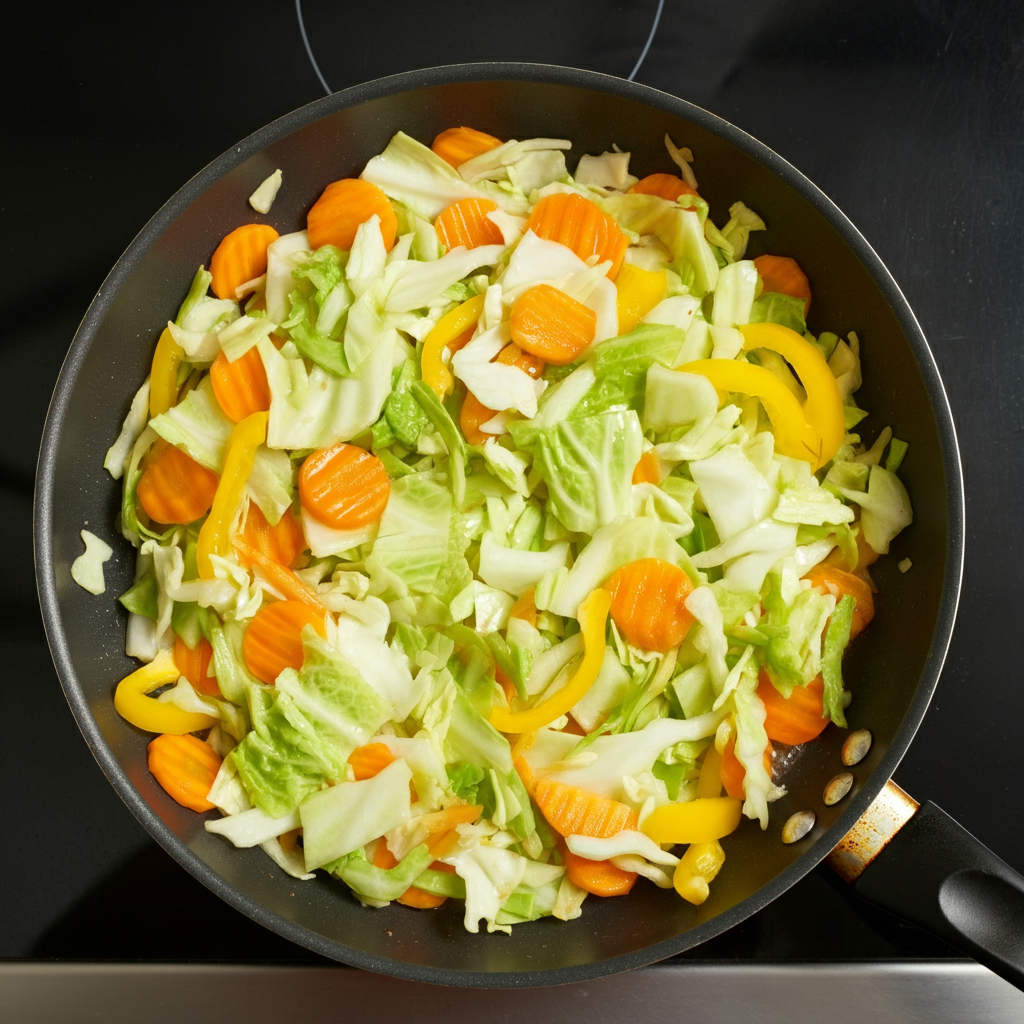
Add the carrots first—they need a bit more time to soften. After a minute, toss in the cabbage and bell peppers. Here’s the crucial part: you want to stir-fry these vegetables for only 2-3 minutes. They should be slightly tender but still maintain that satisfying crunch we’re after.
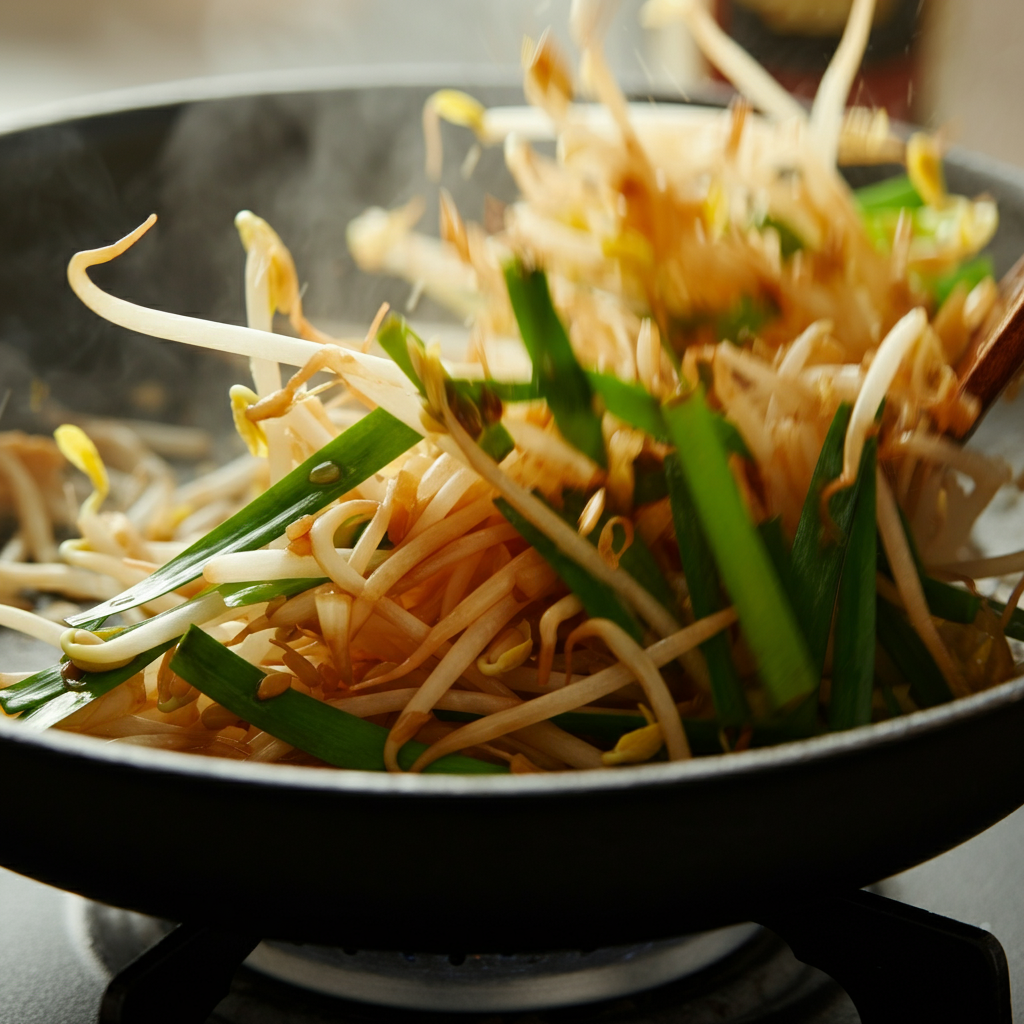
Add the bean sprouts (if using) during the last minute of cooking, followed by the soy sauce, sesame oil, and green onions. Season with salt and pepper, give everything one final toss, and remove from heat. Let this gorgeous mixture cool completely—and I mean completely! Warm filling will make your wrappers soggy, and nobody wants that.
Step 2: Master the Art of Rolling
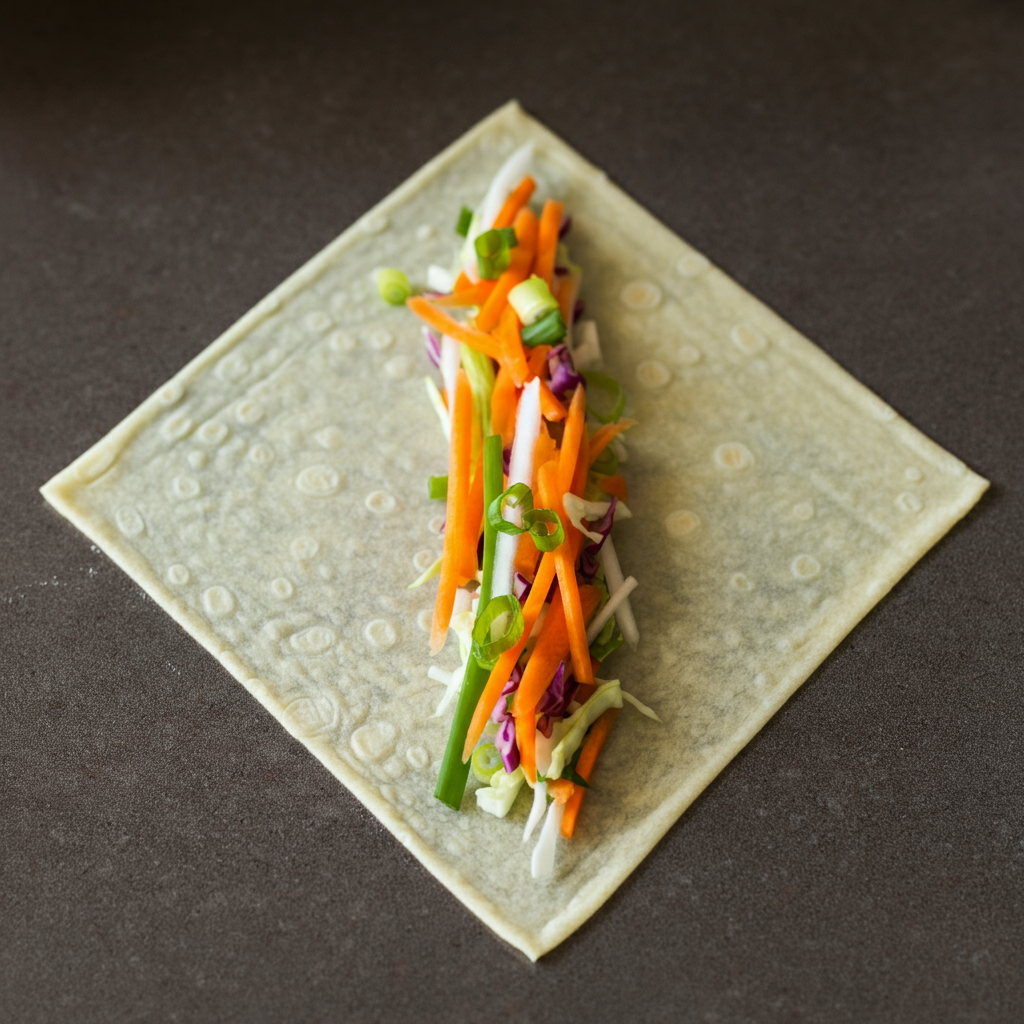
This is where the fun begins! Lay out your spring roll wrapper in a diamond shape on a clean, dry surface. Place about 2-3 tablespoons of your cooled filling near the bottom corner—resist the urge to overfill, as tempting as it might be.
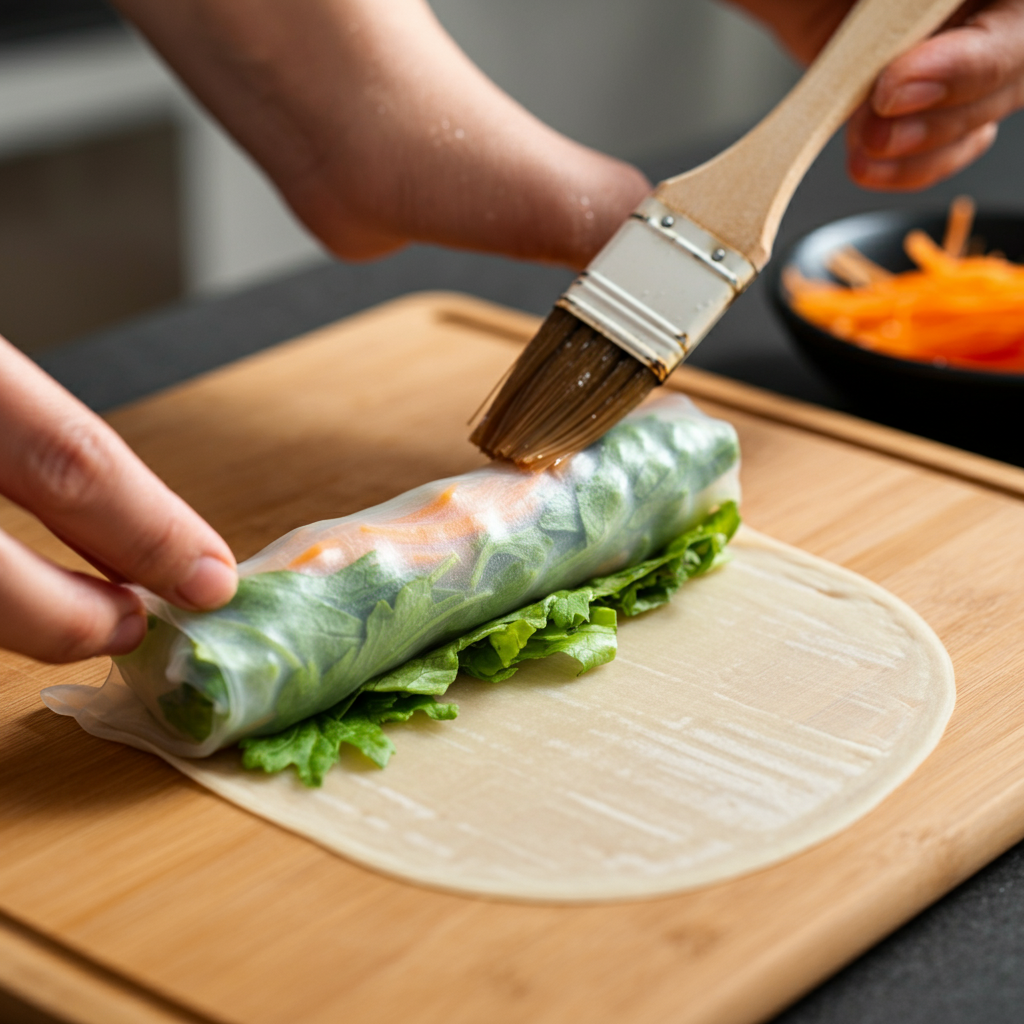
Now comes the rolling technique that took me several attempts to perfect: fold the bottom corner over the filling, then fold in both side corners to create an envelope effect. Roll tightly toward the top corner, keeping everything snug. Brush the final corner with a little water or cornstarch slurry to seal your beautiful creation.
Step 3: Achieve Golden Perfection
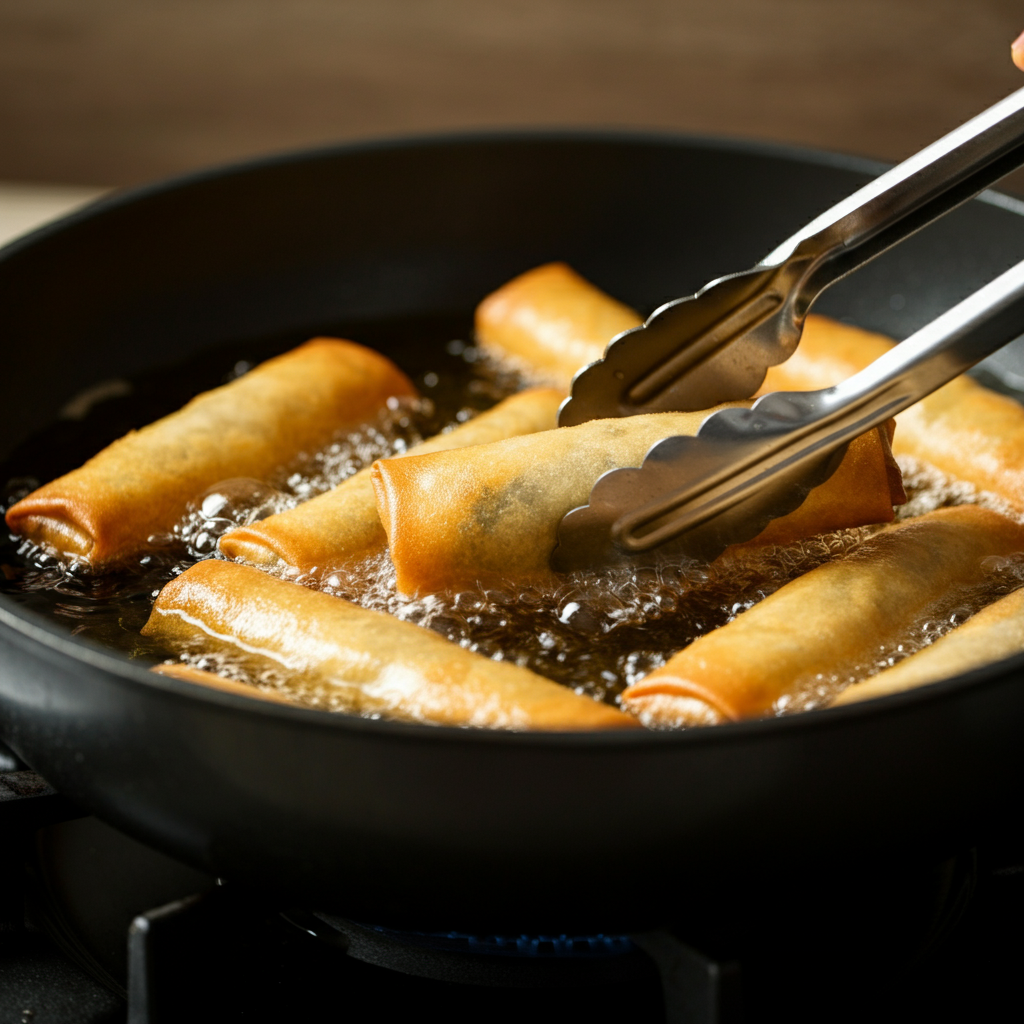
For traditional frying, heat your oil to 350°F (175°C) in a deep pan. The oil is ready when a small piece of wrapper dropped in immediately sizzles and rises to the surface. Fry your rolls in small batches for 3-4 minutes, turning them once to ensure even browning. They should emerge golden, crispy, and absolutely gorgeous!
Serving Your Golden Treasures
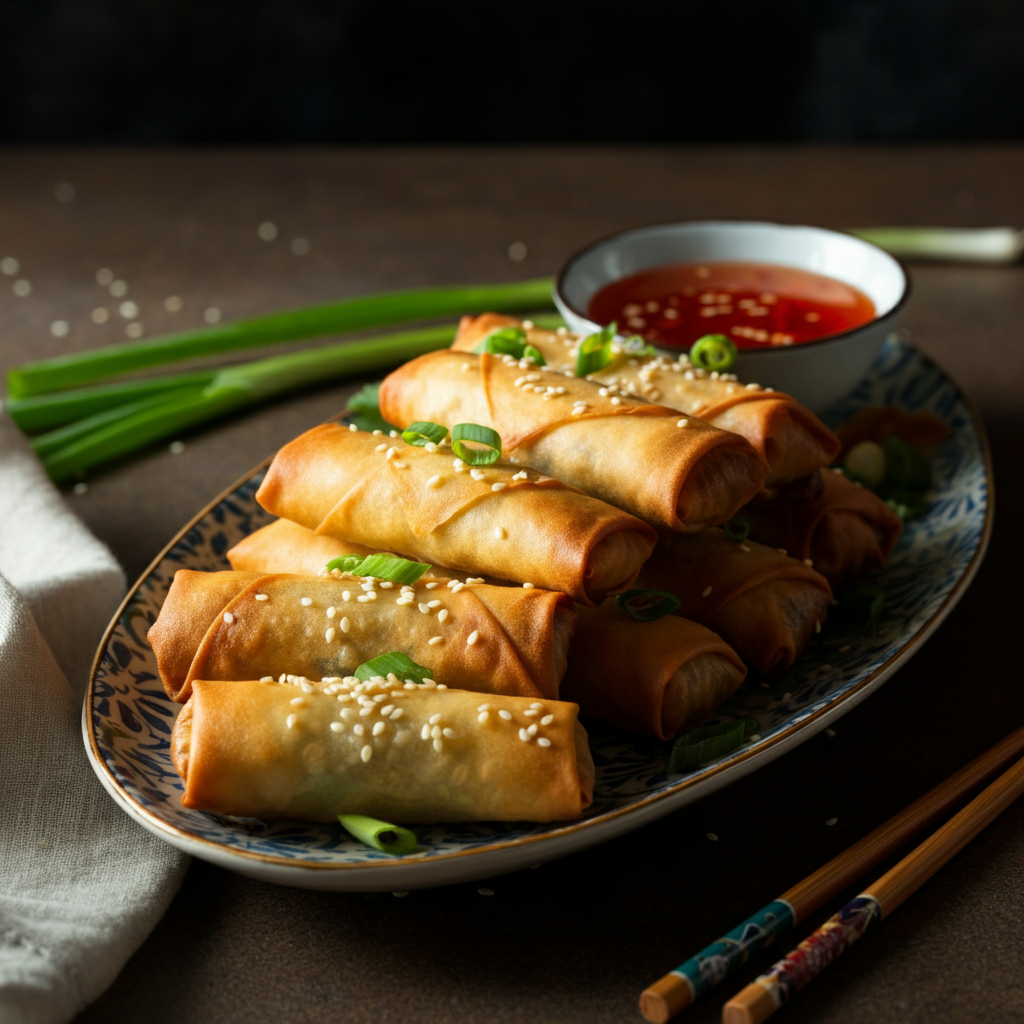
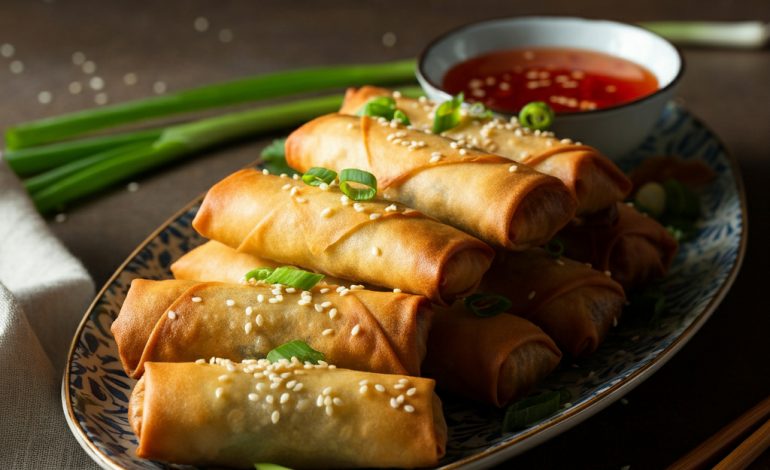
The anticipation as you arrange these golden beauties on a platter is almost unbearable! Serve them immediately while they’re still crispy and warm. I love sprinkling mine with sesame seeds and fresh green onions for that extra pop of color and flavor.
These spring rolls pair wonderfully with jasmine rice, vegetable fried rice, or a fresh Asian salad. They also make fantastic party appetizers—just watch them disappear from the platter!
Tips for Spring Roll Success
Want to take your spring rolls to the next level? Try adding sliced mushrooms, thin zucchini strips, or even some fresh spinach to your vegetable mix. For added protein, consider incorporating cubed tofu or paneer.
If frying isn’t your style, you can actually bake these at 400°F (200°C) for about 15-20 minutes, turning once halfway through. They won’t be quite as crispy as their fried counterparts, but they’ll still be delicious and much lighter.
Here’s a pro tip I learned the hard way: always keep your unused wrappers covered with a damp towel to prevent them from drying out and cracking.
Making Memories, One Roll at a Time
There’s something deeply satisfying about creating these little bundles of joy from scratch. Each roll represents a moment of care and attention, and sharing them with family and friends makes the experience even more special.
Don’t worry if your first batch doesn’t look perfect—mine certainly didn’t! The most important thing is that they taste incredible, and with each roll you make, your technique will improve. Soon, you’ll be rolling like a pro and wondering why you ever hesitated to make these at home.
So gather your ingredients, invite some friends over, and get ready to create some crispy, golden magic in your kitchen. These vegetable spring rolls are more than just a recipe—they’re your ticket to bringing restaurant-quality appetizers to your own table!